Just take me to the DIY, please!
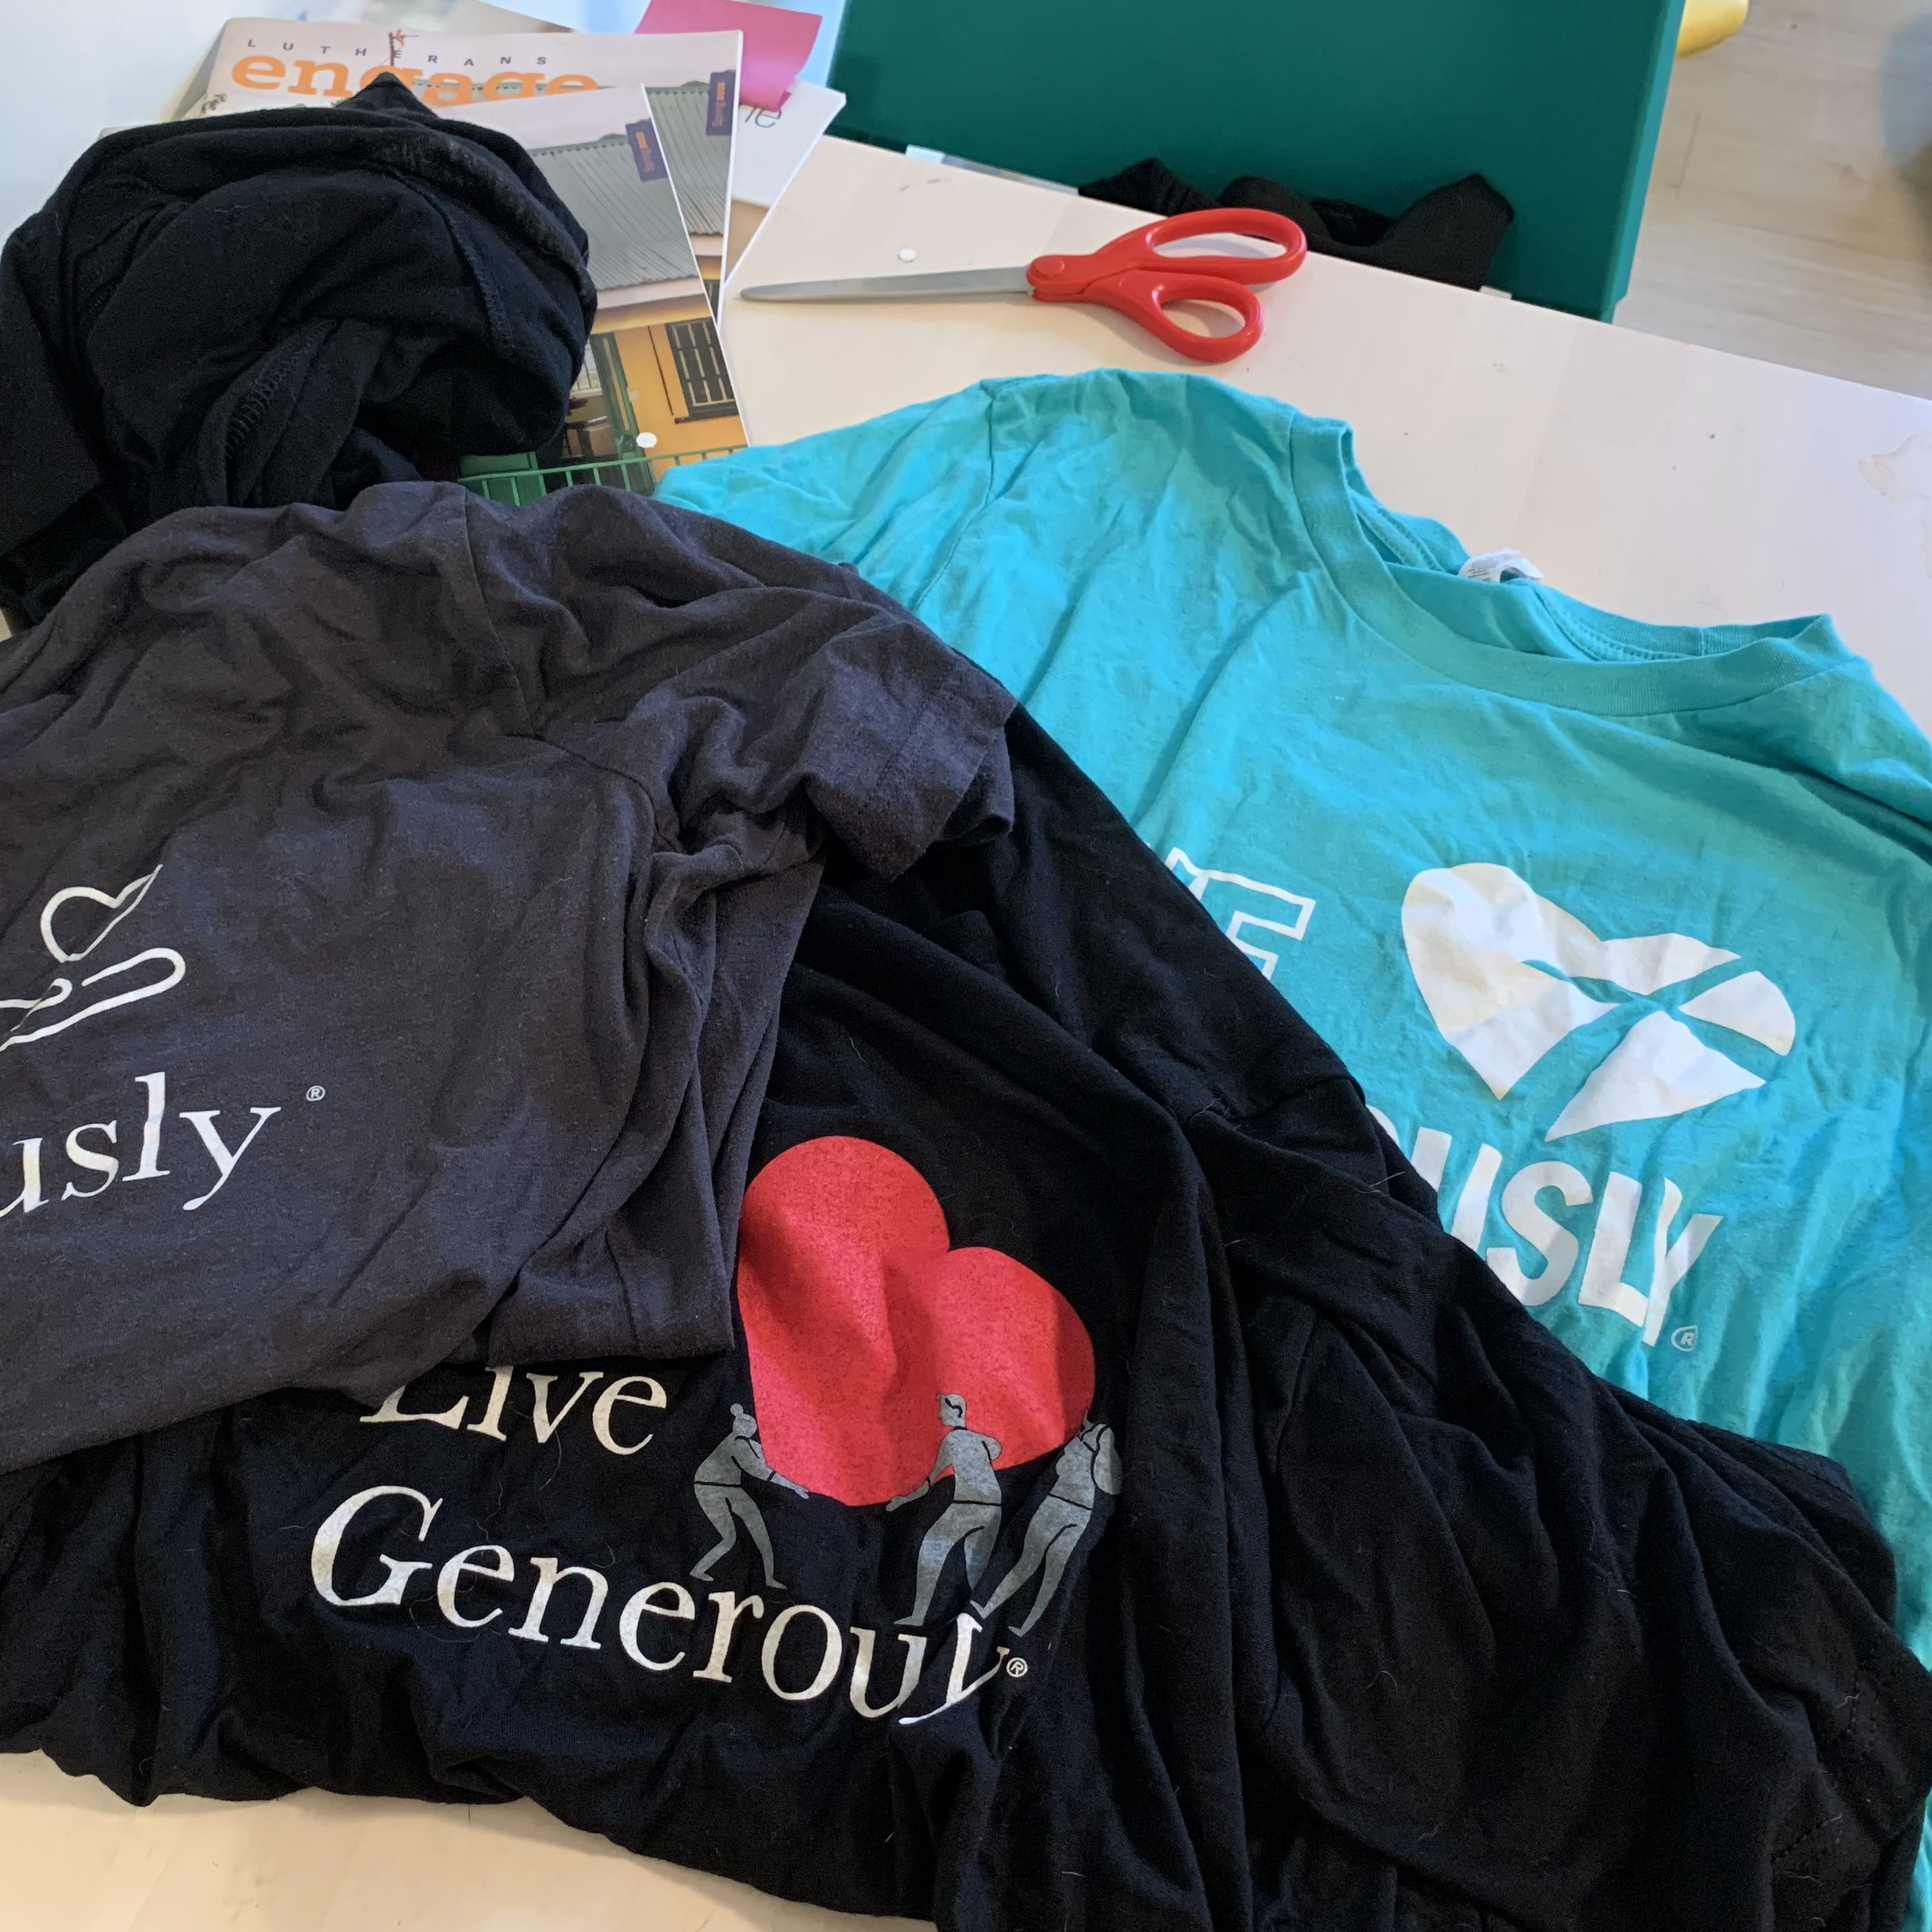
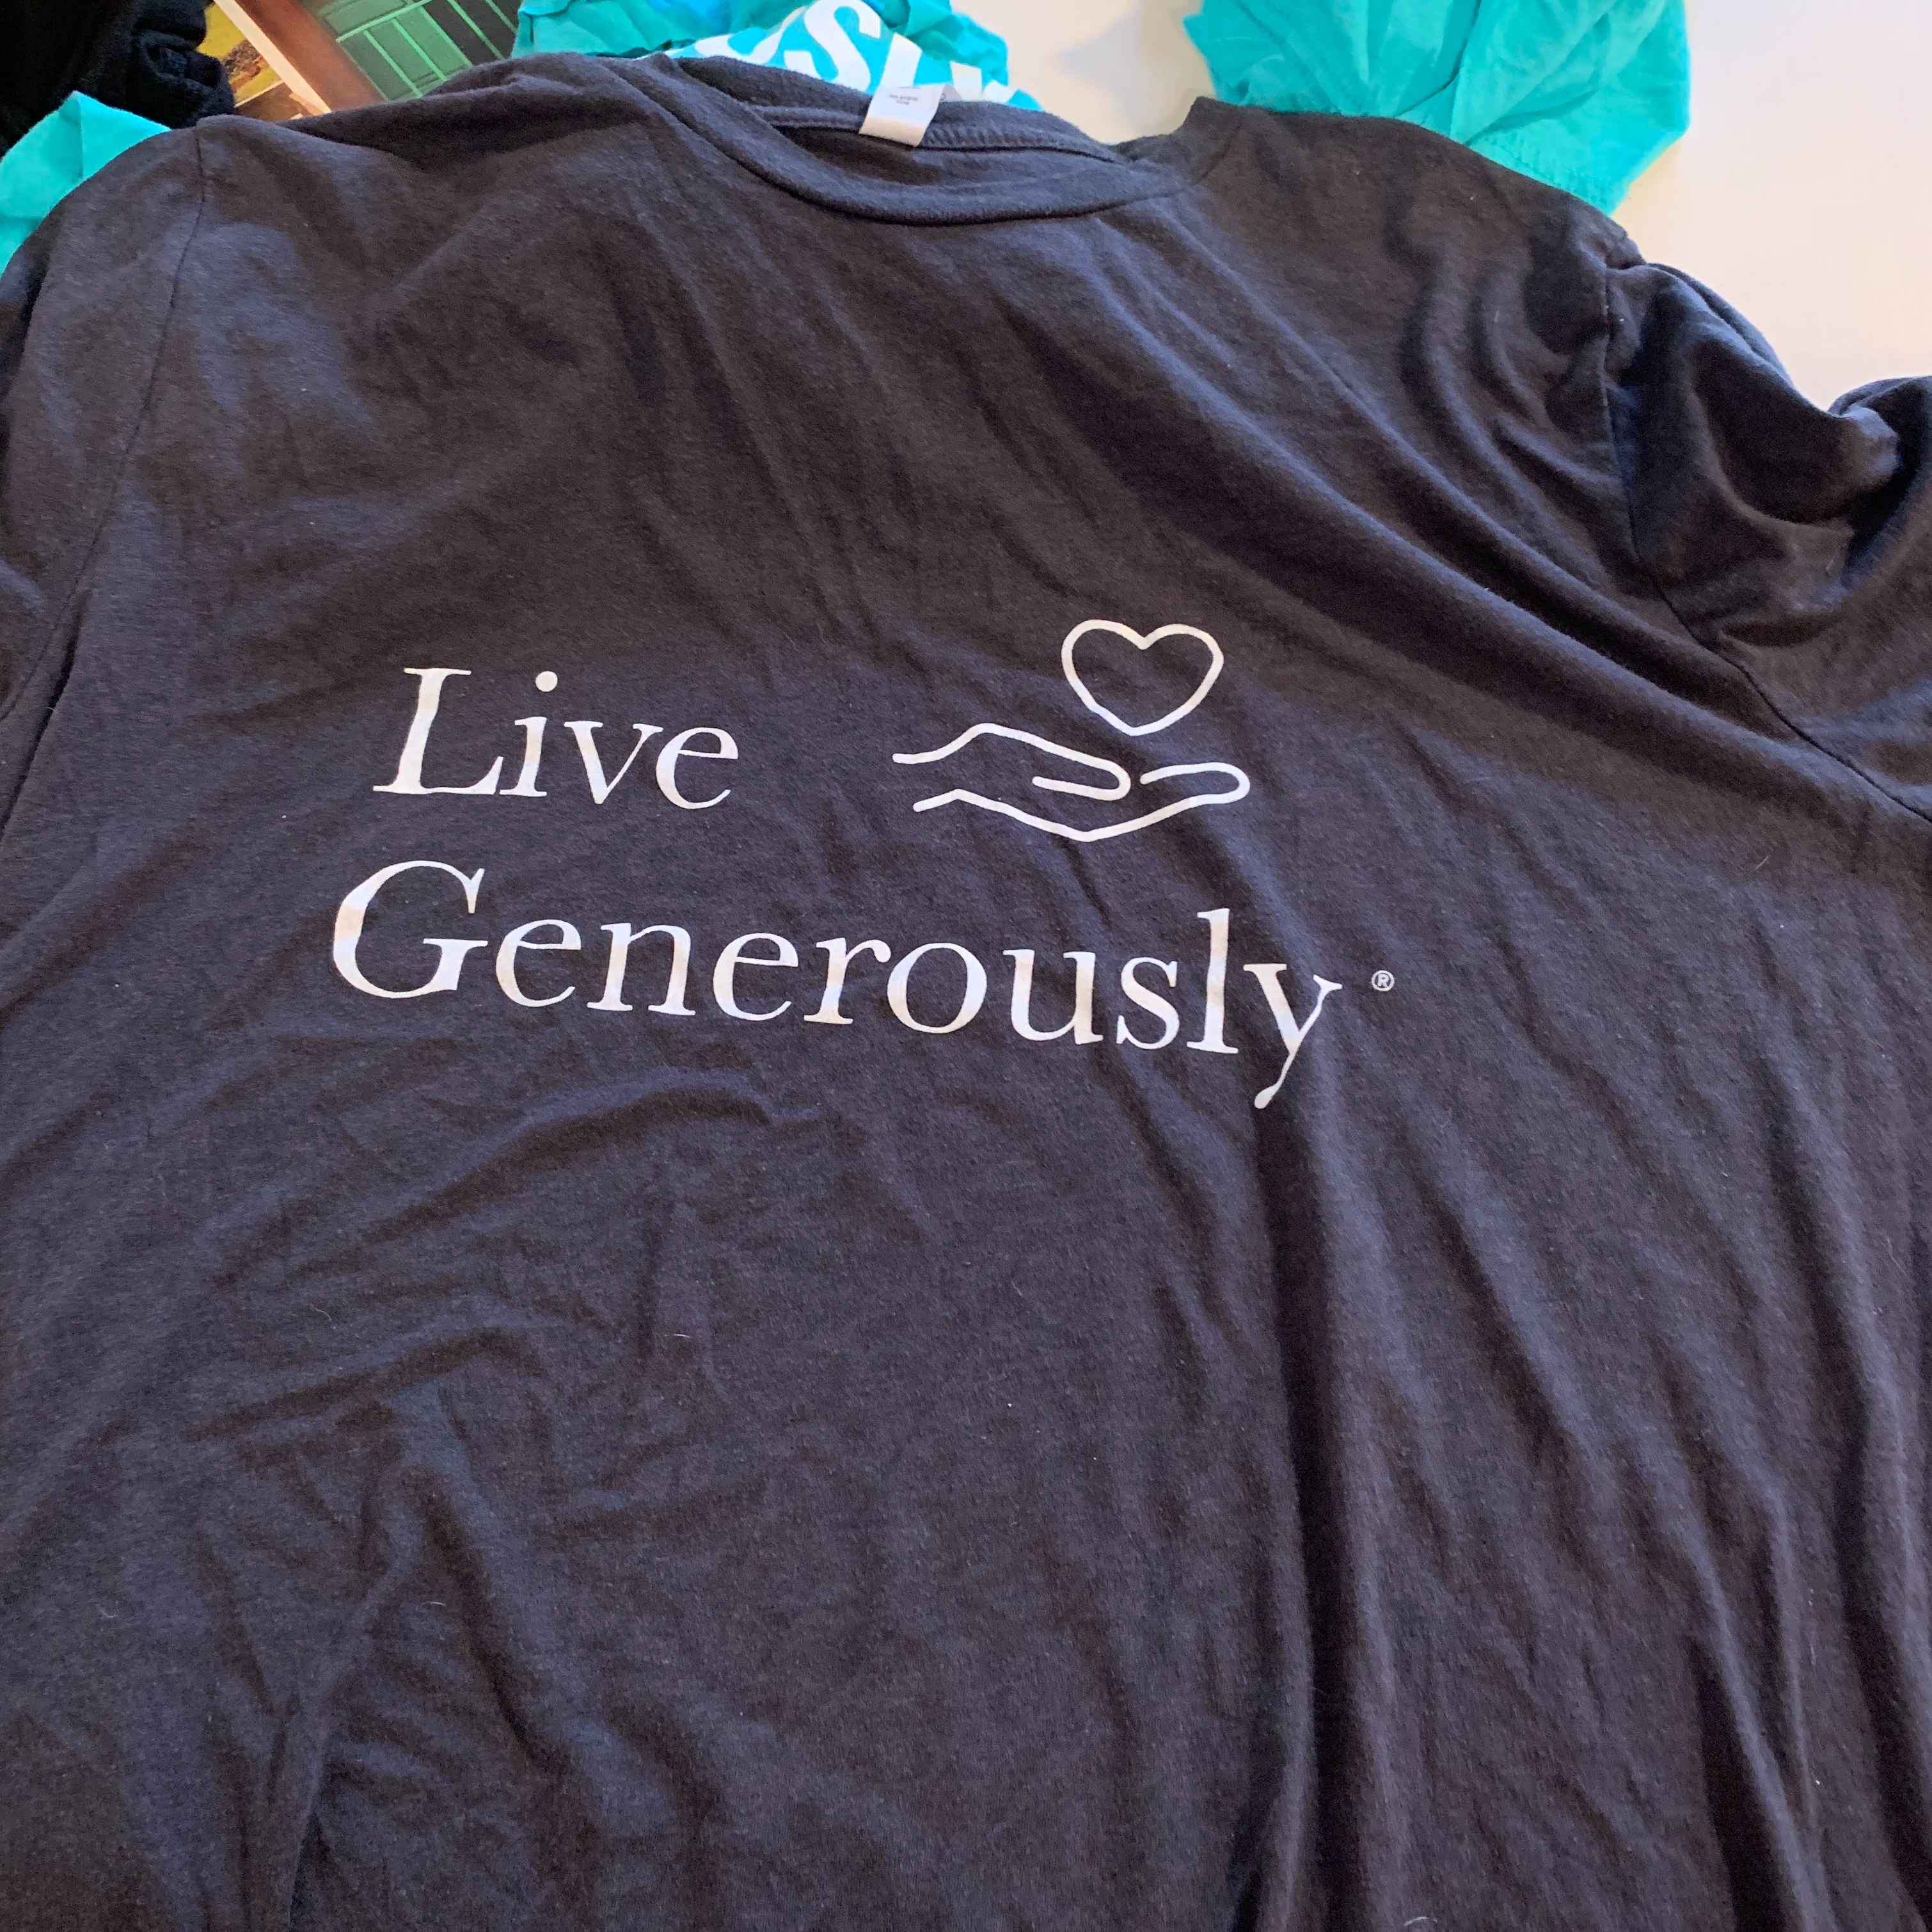
If you are an active member in The Lutheran Church–Missouri Synod like I am, then I’m sure you are familiar with this t-shirt:

For those who are not familiar, these Live Generously t-shirts come from Thrivent. Thrivent has a product, Thrivent Action Teams, which issues grants to Thrivent members. In my own experience, Thrivent members use these grants to make a difference in their communities through service projects facilitated by their congregation. While I am not a Thrivent member, I have participated in a number of projects made possible by Thrivent Action Teams.
When a Thrivent member receives an Action Teams grant, they are given a kit to enhance the service project experience. Included in this kit is a number of Live Generously t-shirts, like the one you see above. I’m not sure how many t-shirts come with a kit. Probably one thousand.
I hope you see where this is going. Because I have participated in a lot of Thrivent Action Team projects, I have as many (if not more!) Live Generously t-shirts.
So, while I’ve decided that the overabundance of t-shirts is a good thing — because it reflects a desire in the church to serve the community — I’ve also decided that I am not going to keep all these Live Generously t-shirts that get (however innocently) forced on me, at least for their intended purpose.
I’m not sure how many t-shirts come with a kit. Probably one thousand.
In the name of sustainable fashion, I used these t-shirts to make an infinity scarf! Here’s how you can make your own:
Necessary Items
- 2-3 T-shirts (They can vary in color, but I would advise you to use t-shirts of the same size and material composition)
- Scissors, or fabric shears if you are ~fancy~
Make your t-shirt scarf
The first thing you want to do is make “t-shirt yarn.” T-shirt yarn actually has a variety of uses, and is the core objective of making an infinity scarf out of your t-shirt. So if you can find a much better tutorial on making t-shirt yarn, I won’t even be mad if you use that instead.
Take your first t-shirt and lay it out on a flat surface. I used my kitchen table because I don’t sew or knit or make clothes or anything.
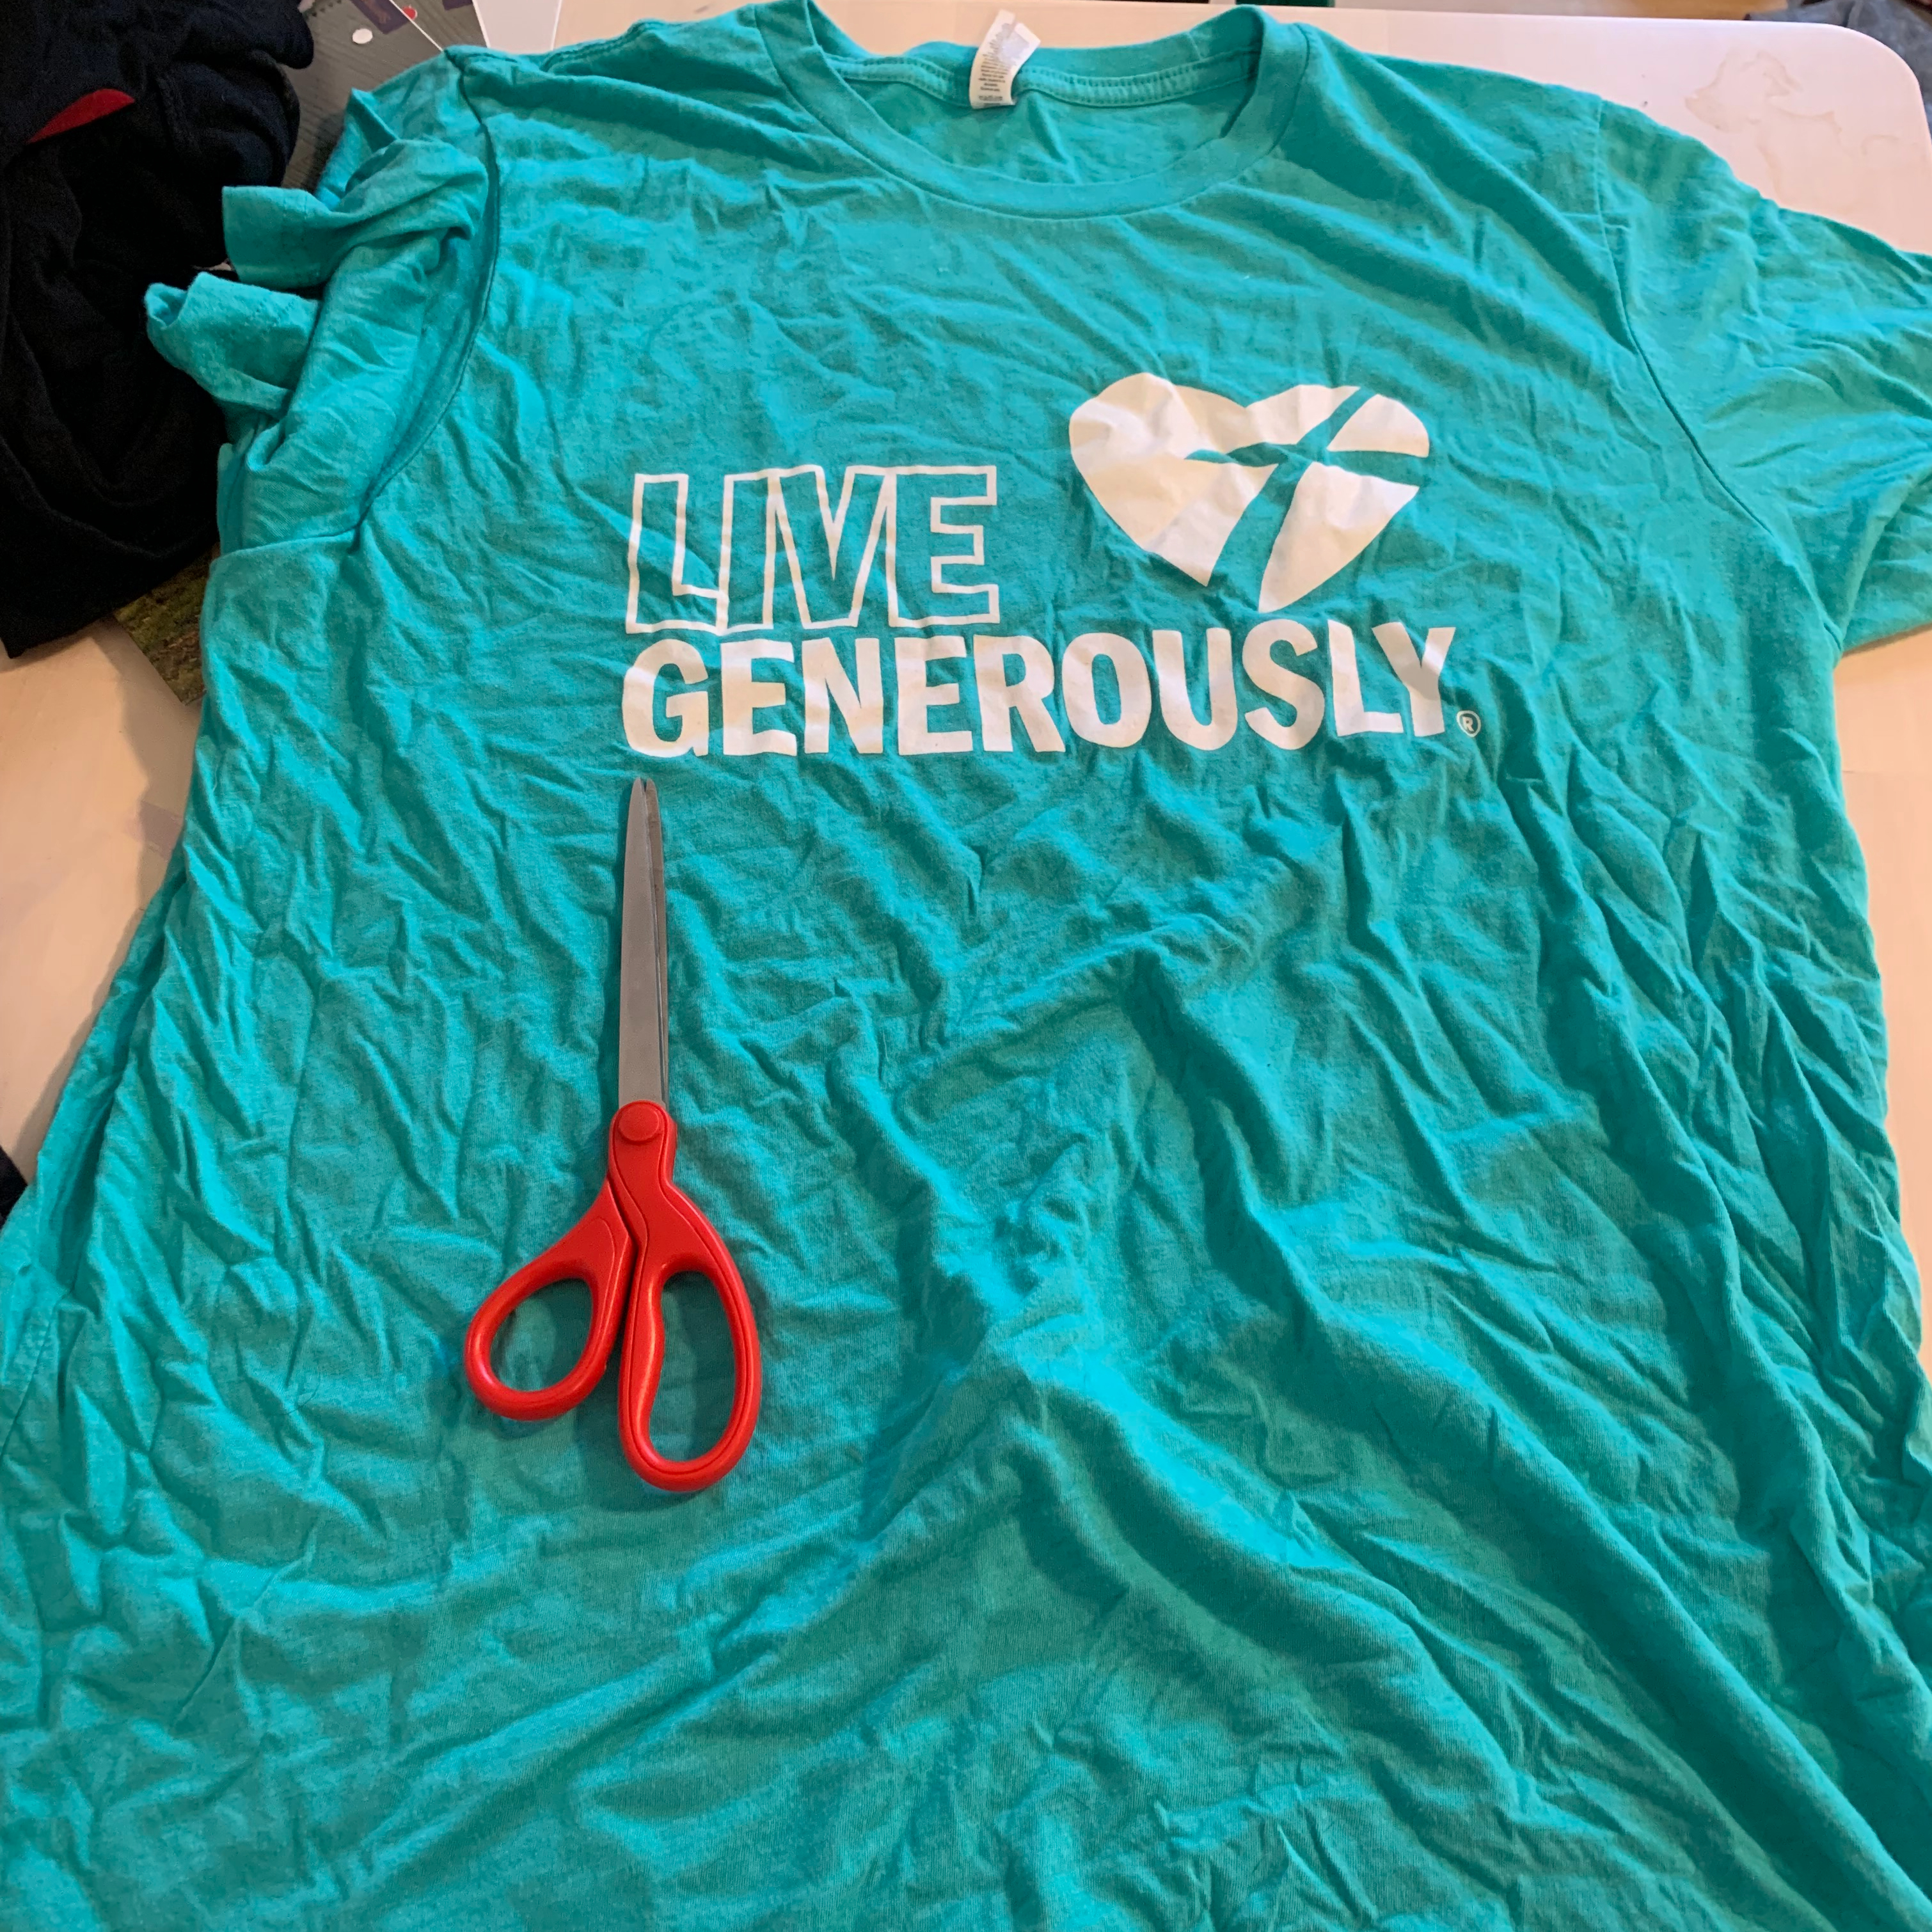
Cut the bottom seam off the t-shirt. The bottom of the shirt should now kind of be fringy. Fabric shears will definitely help if you want cleaner, straighter lines.

Save the bottom seam of one of the shirts you use for later, and use the other however you want, I’m not your mom. I made a headband out of the first shirt’s bottom seam that lasted for 17 seconds. Maybe.

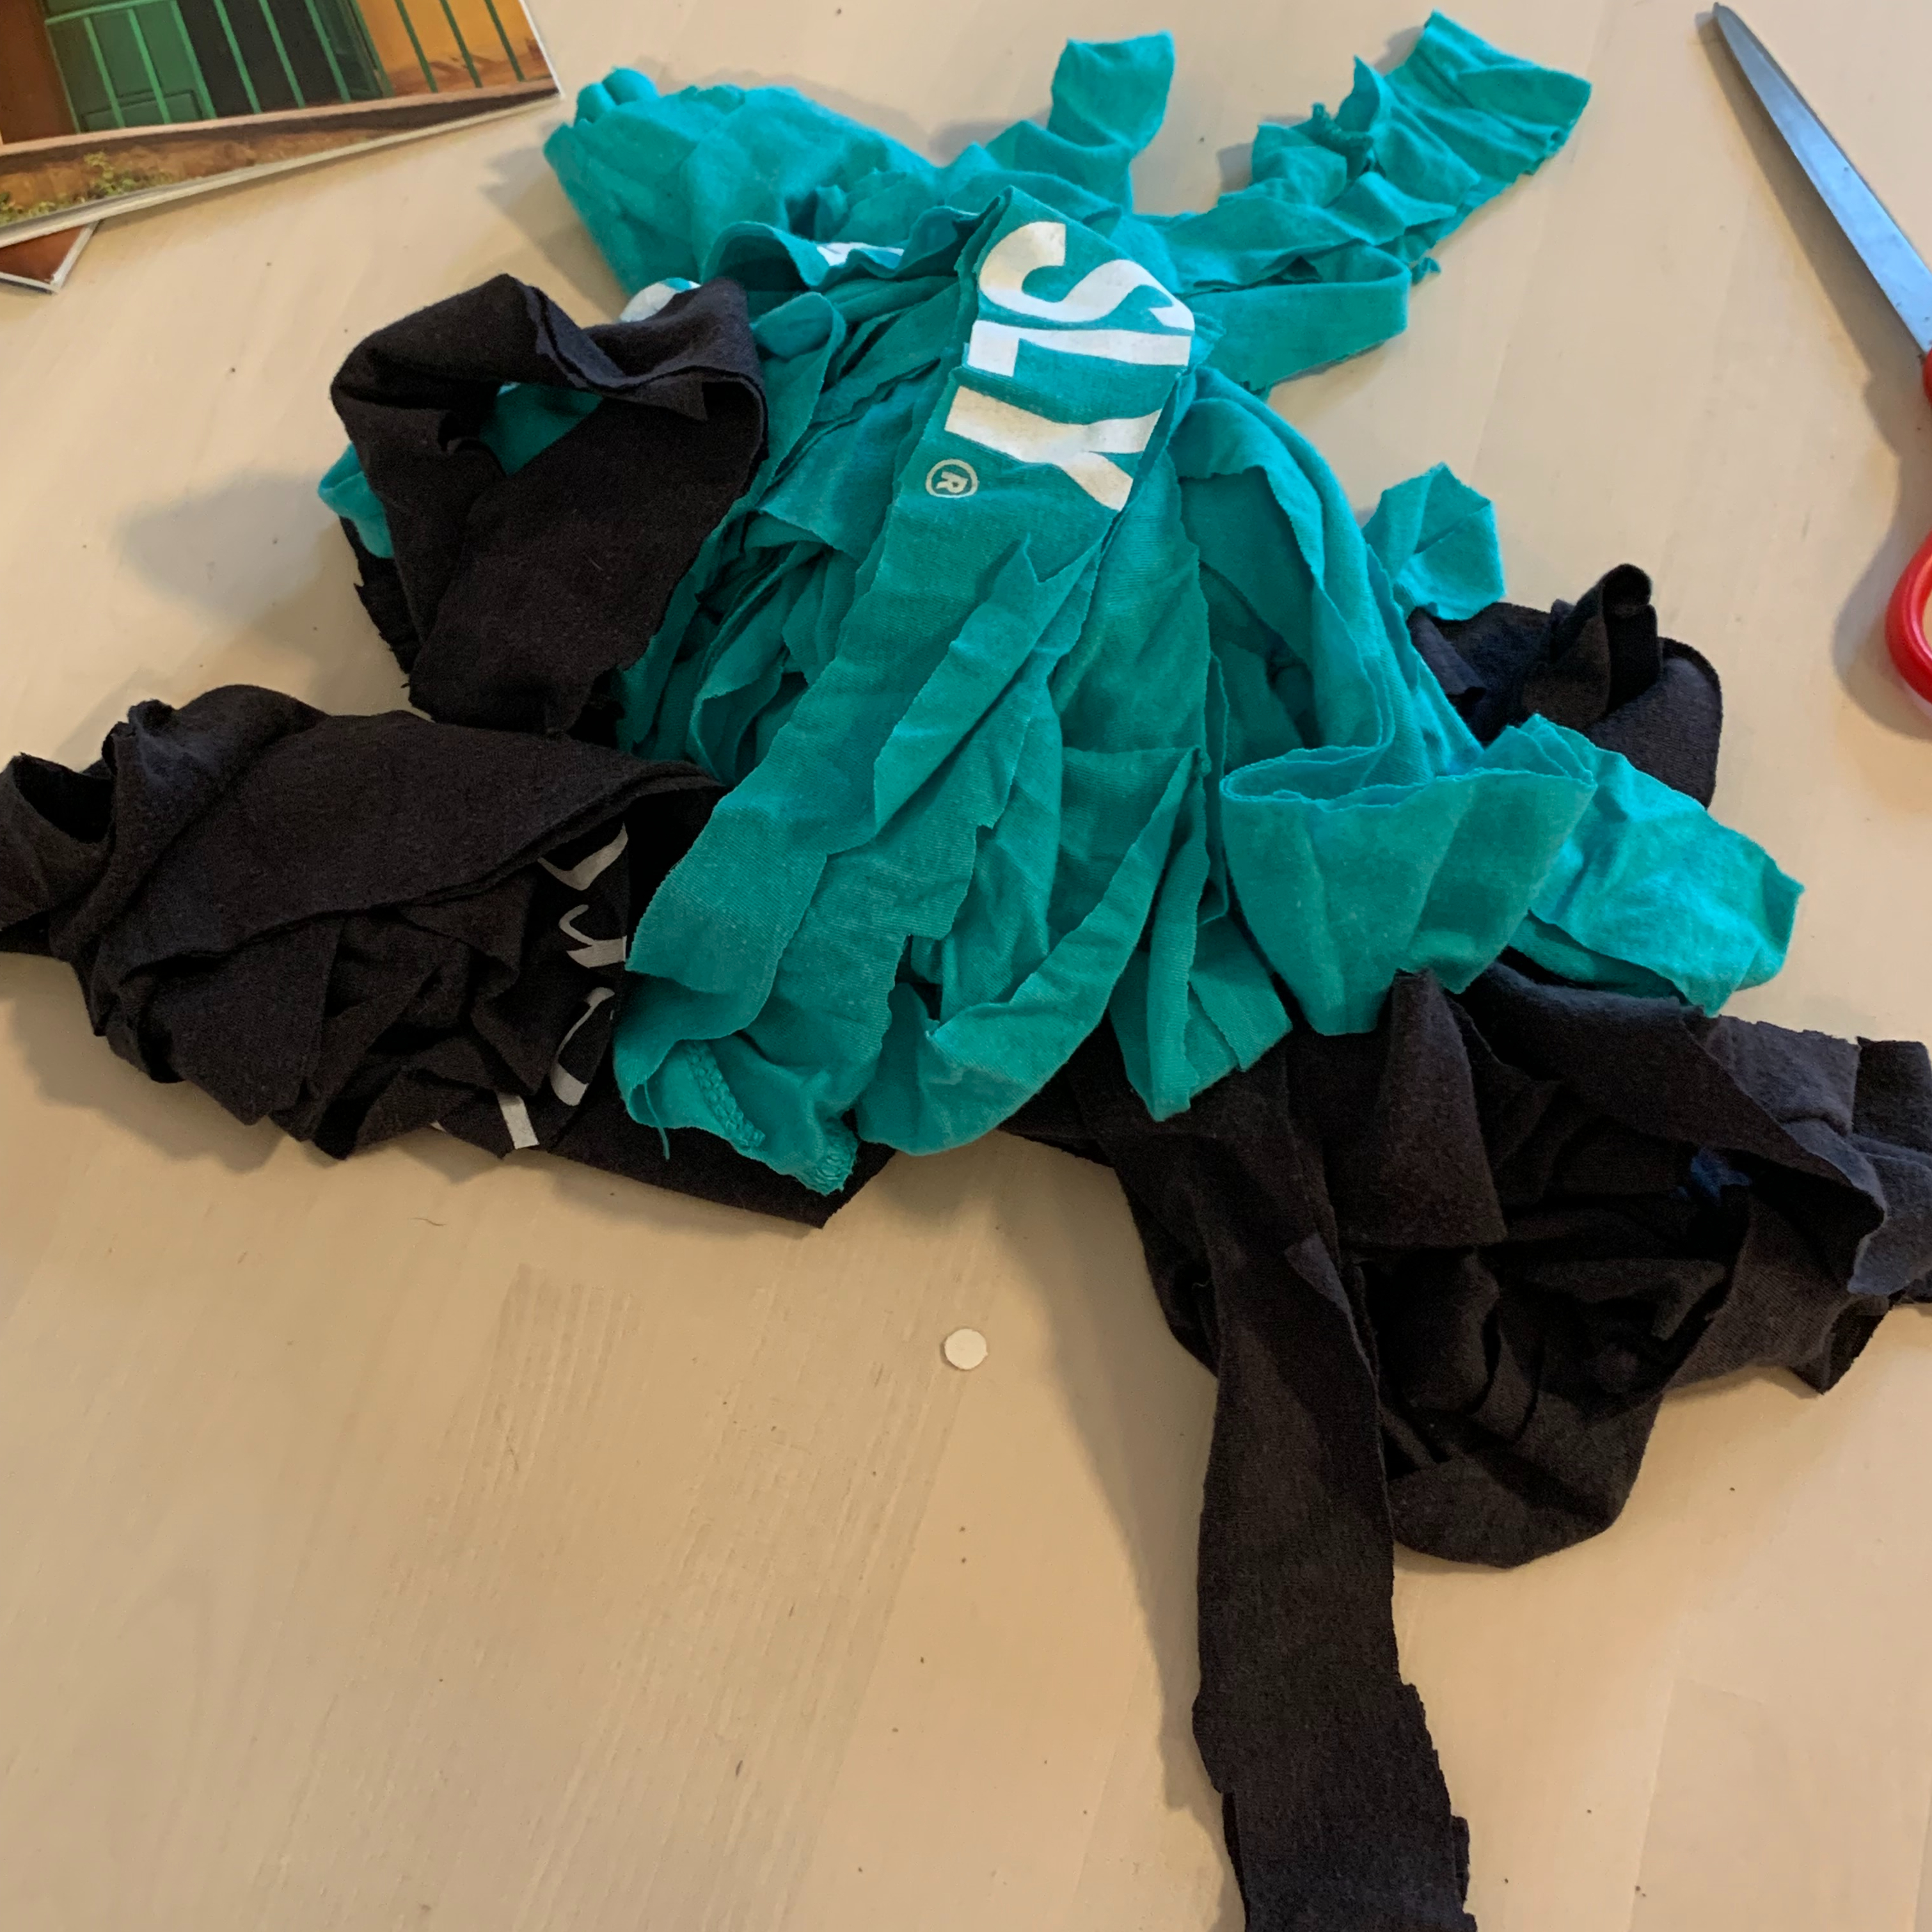
Anyway, the next step is going to be repeated several times, depending on how thick you want your t-shirt thread to be. Cut strips of the t-shirt width-wise a.k.a. “hamburger style.” The thicker the strip, the chunkier your yarn will be.
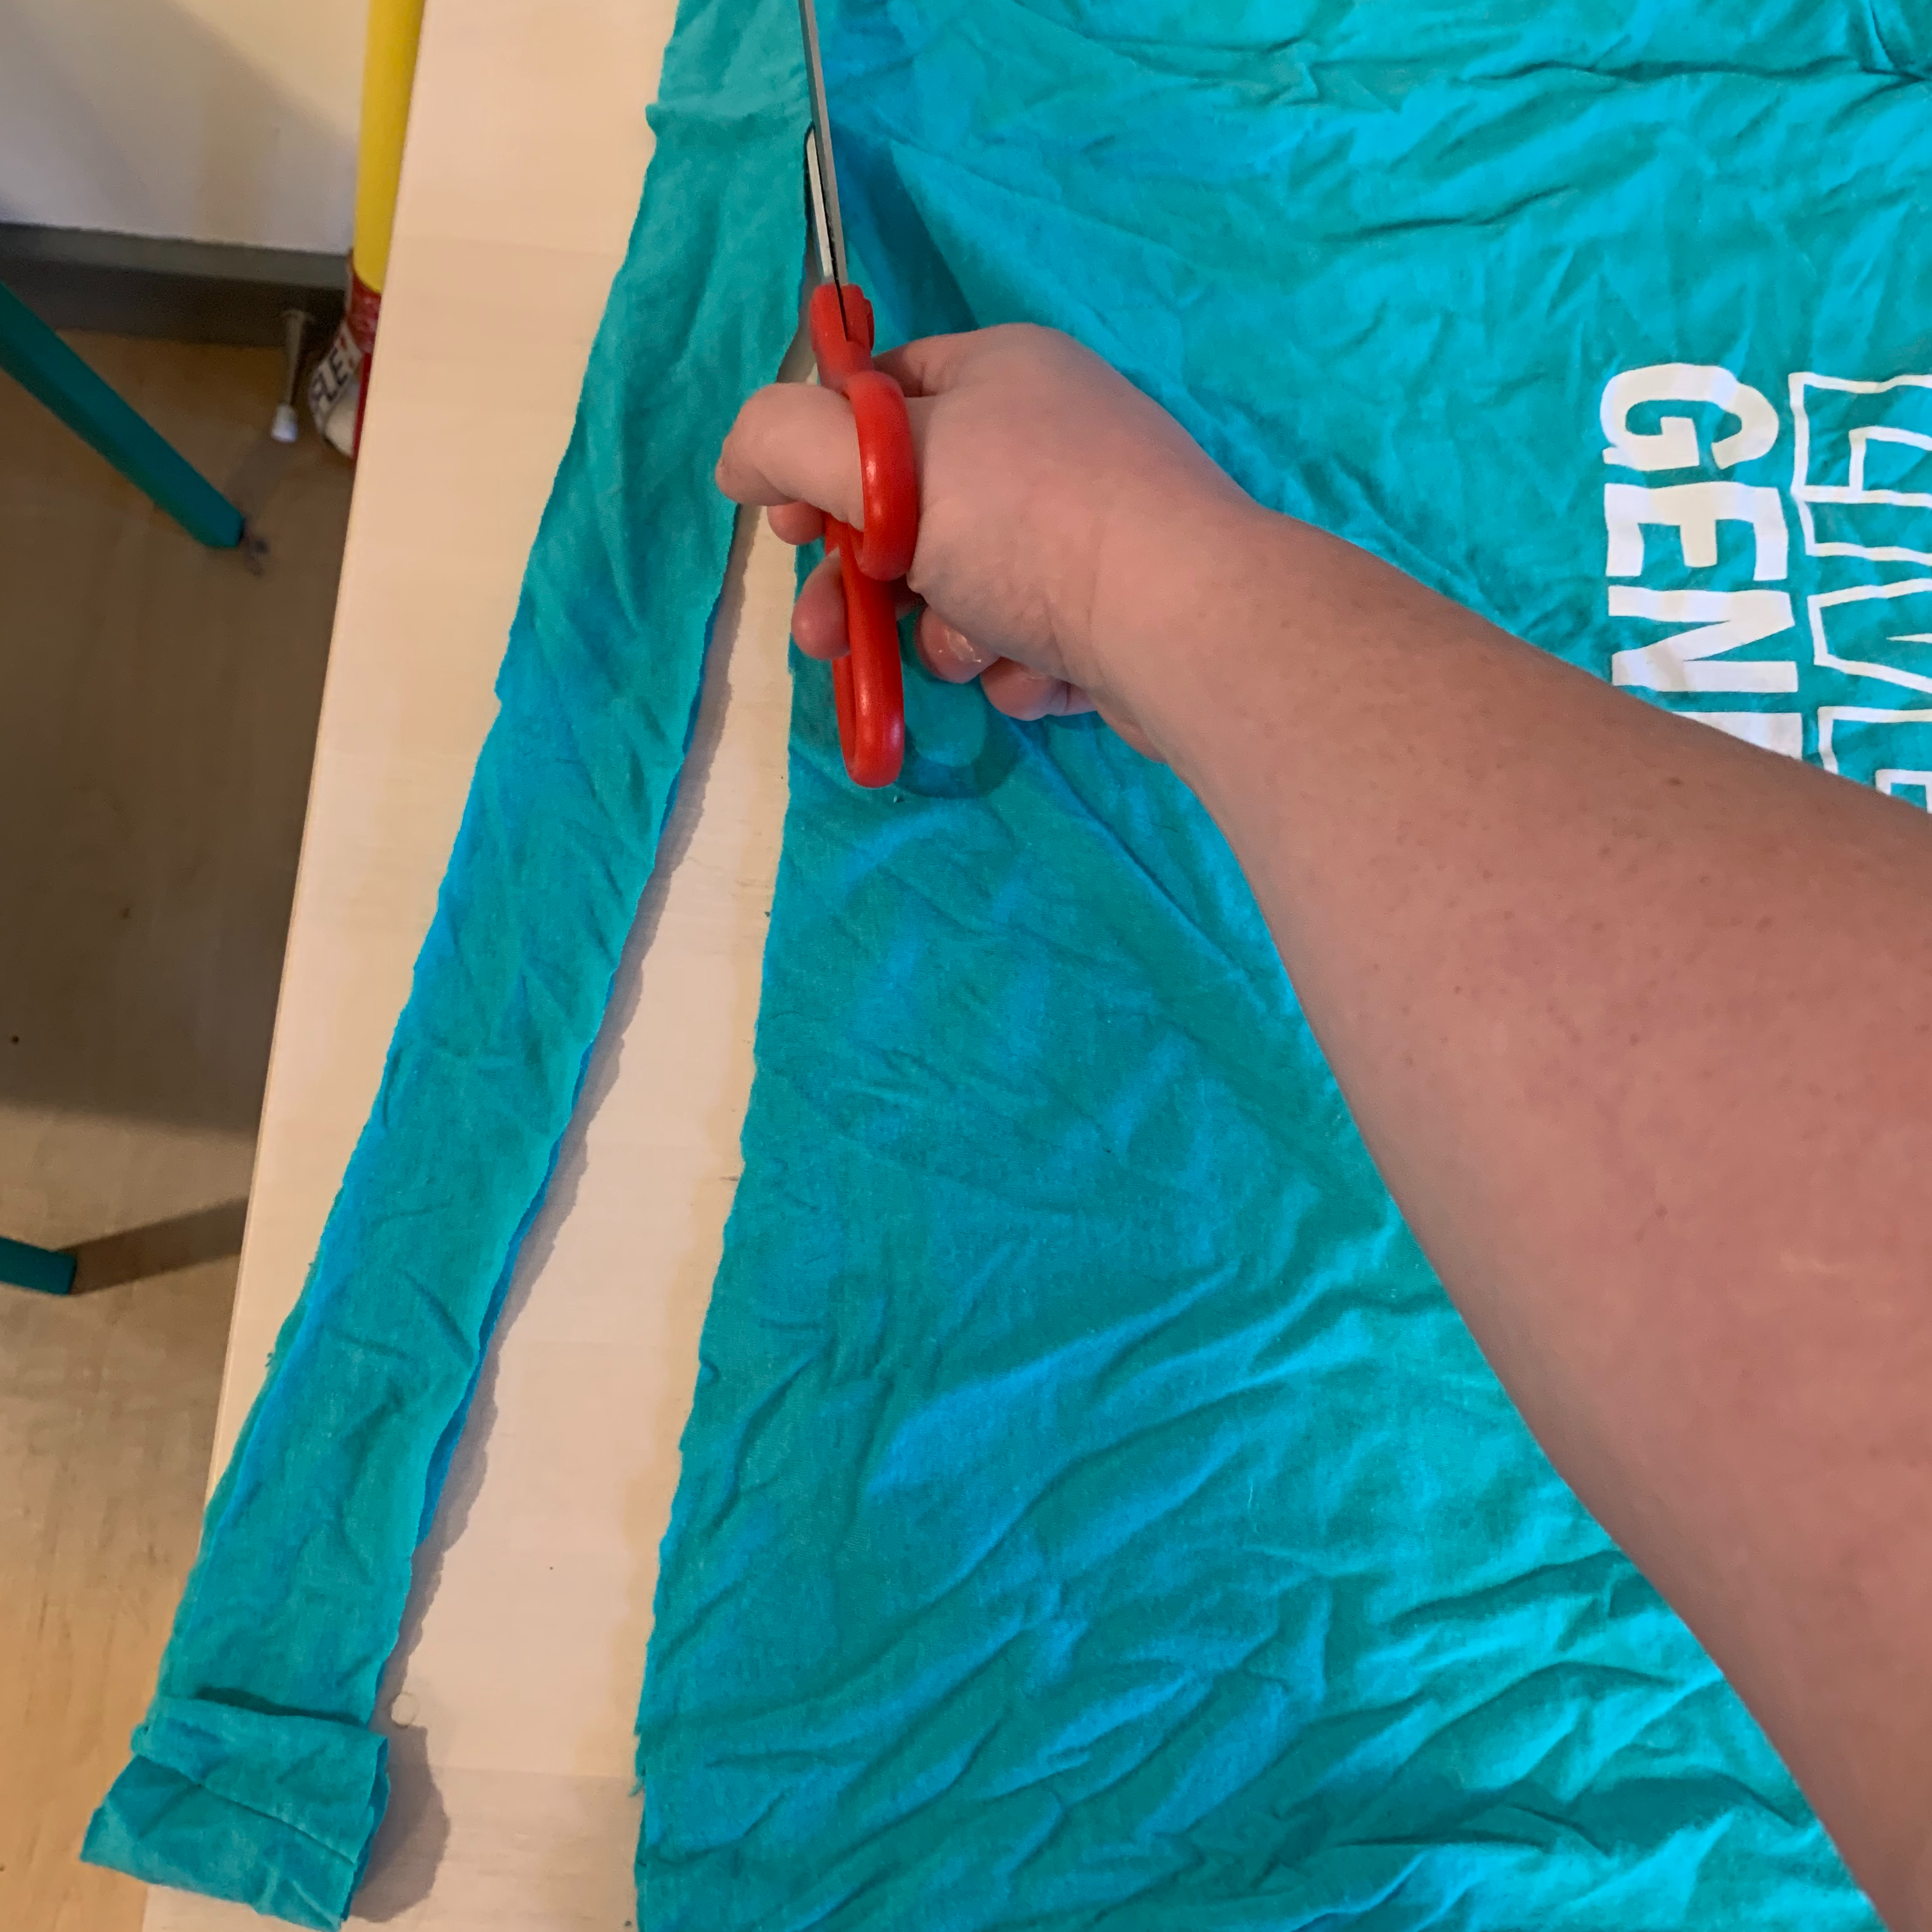

Above, you’ll see I cut strips up to the “armpits” of the shirt, which meant some of the “Live Generously” was on the yarn. I do not recommend this, as yarn strips with t-shirt printing on them will not curl appropriately. But whatever. She made it work anyway kind of.
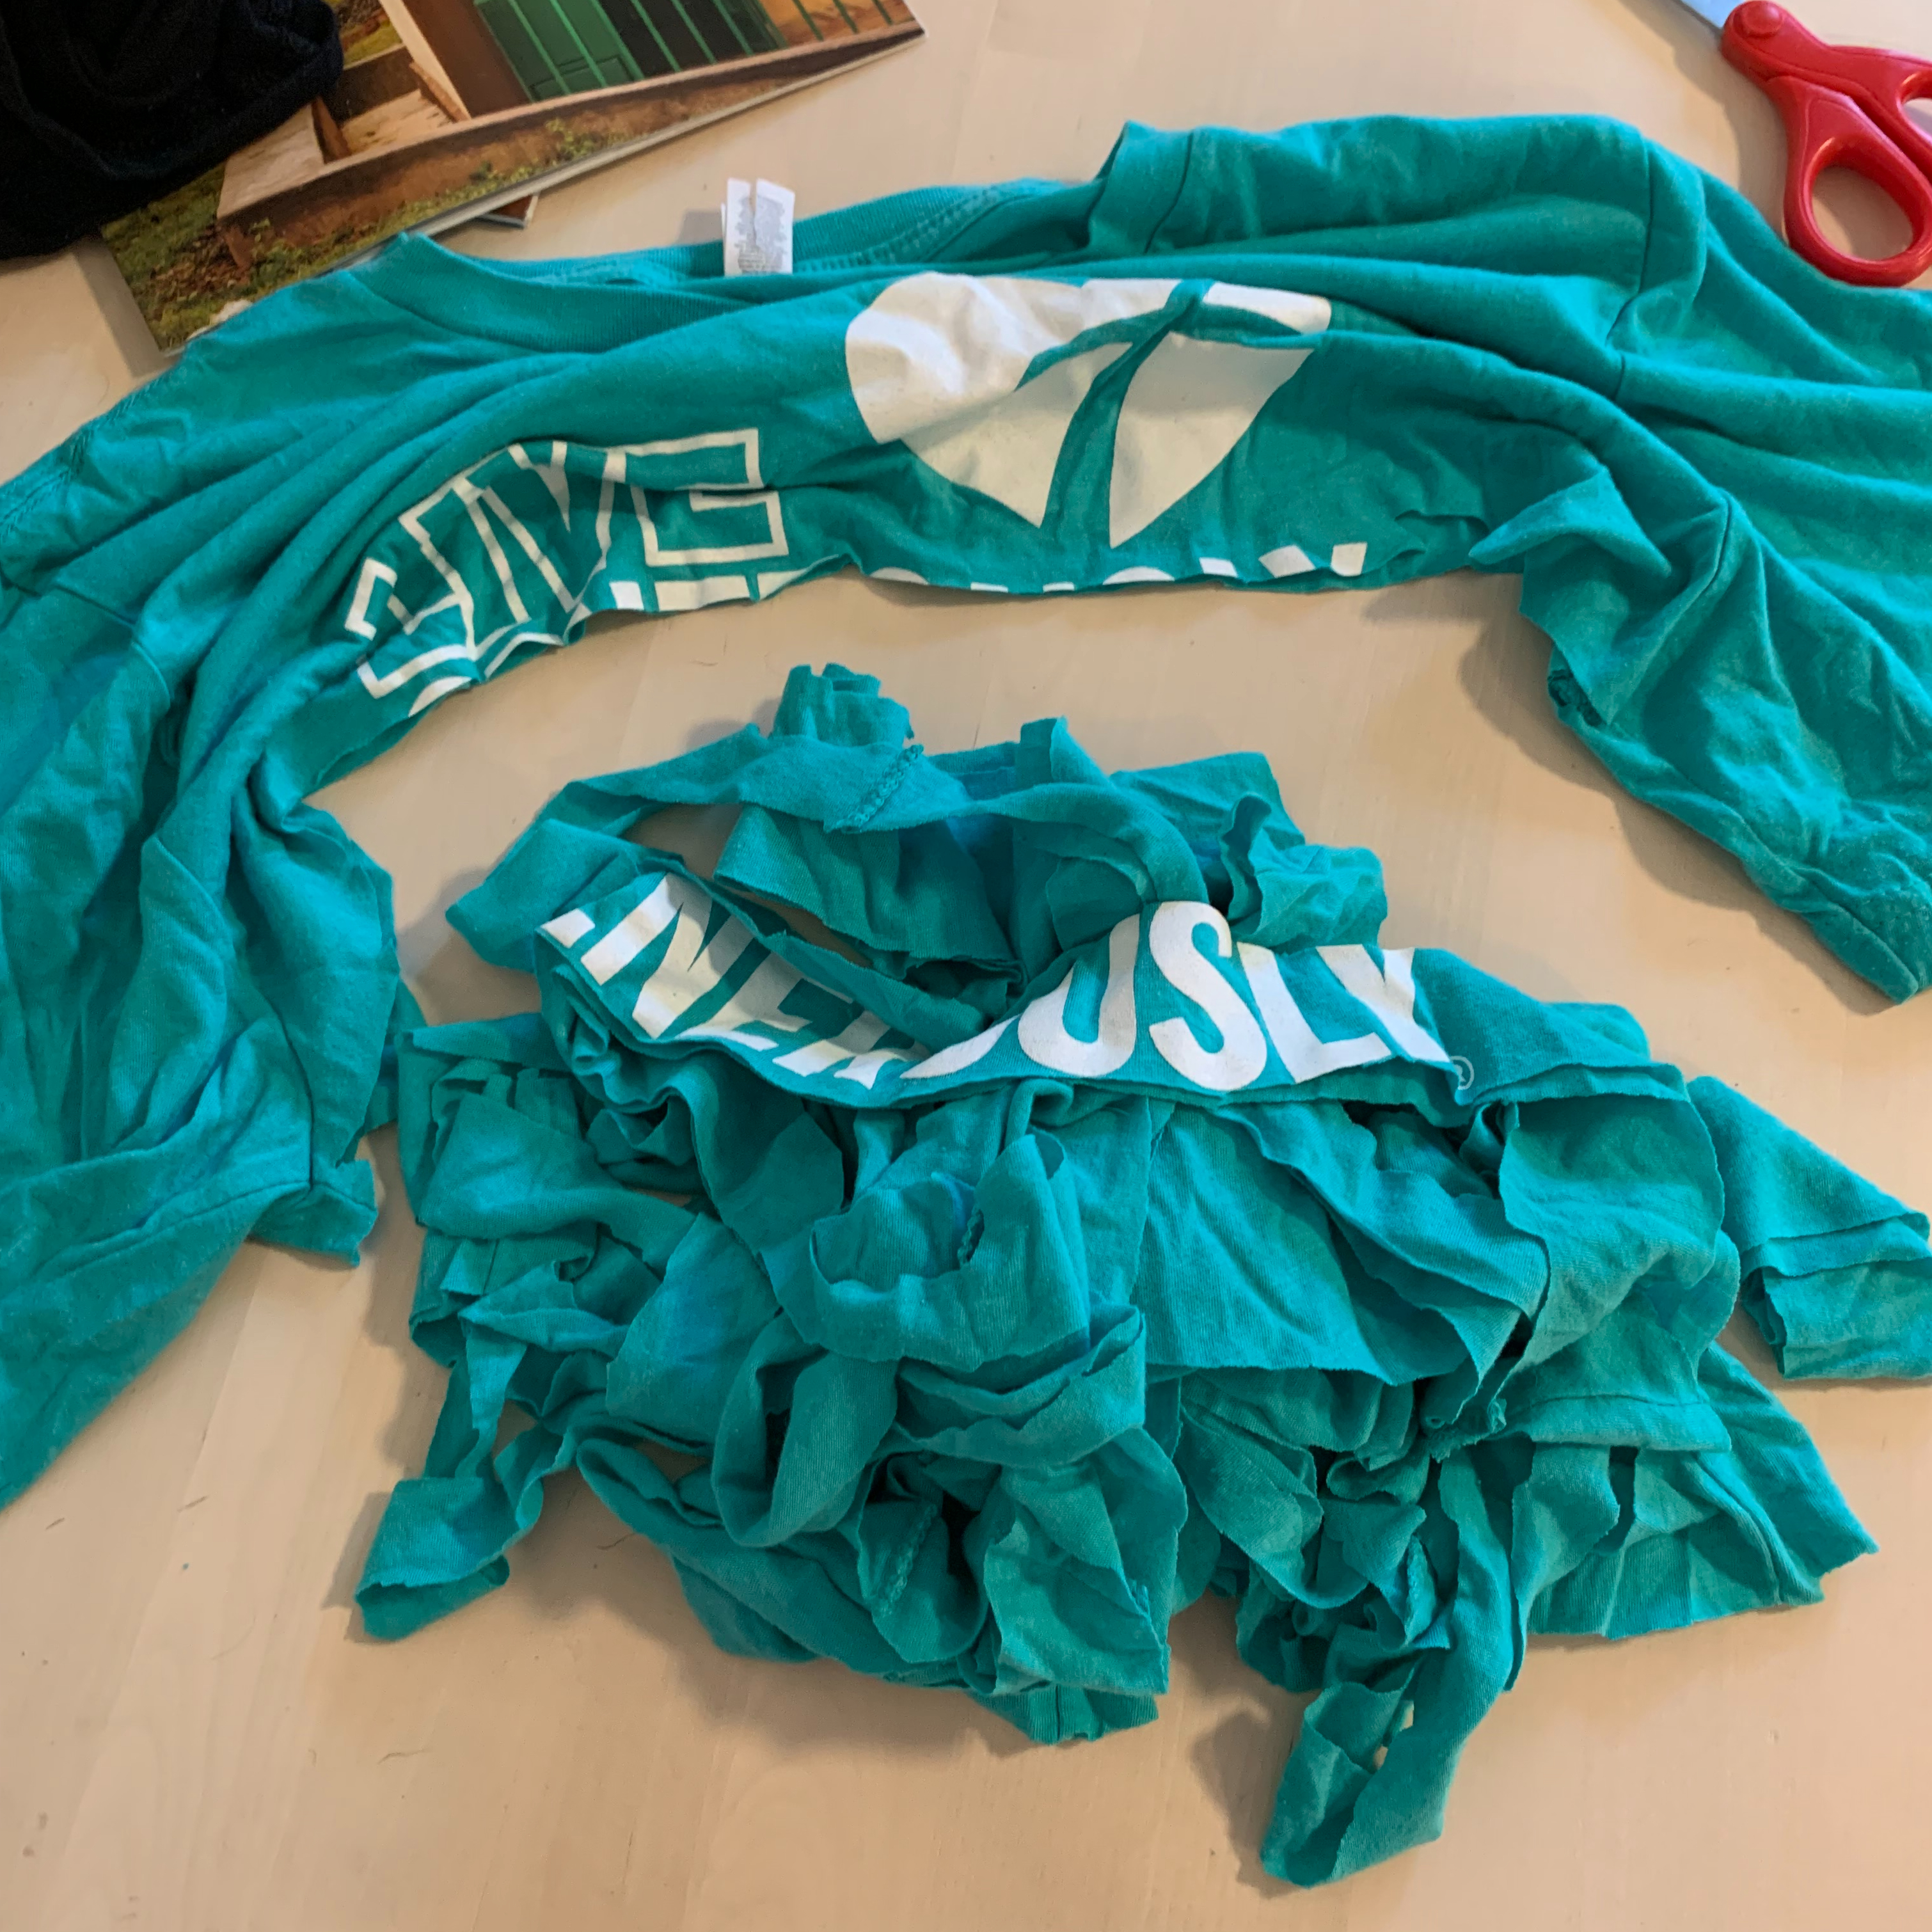
Once you’ve cut the yarn strips from your first t-shirt, make yarn strips from the second t-shirt (and third t-shirt, if necessary) using this same method.
You should end up with a giant pile of loops made out of the t-shirts you used.
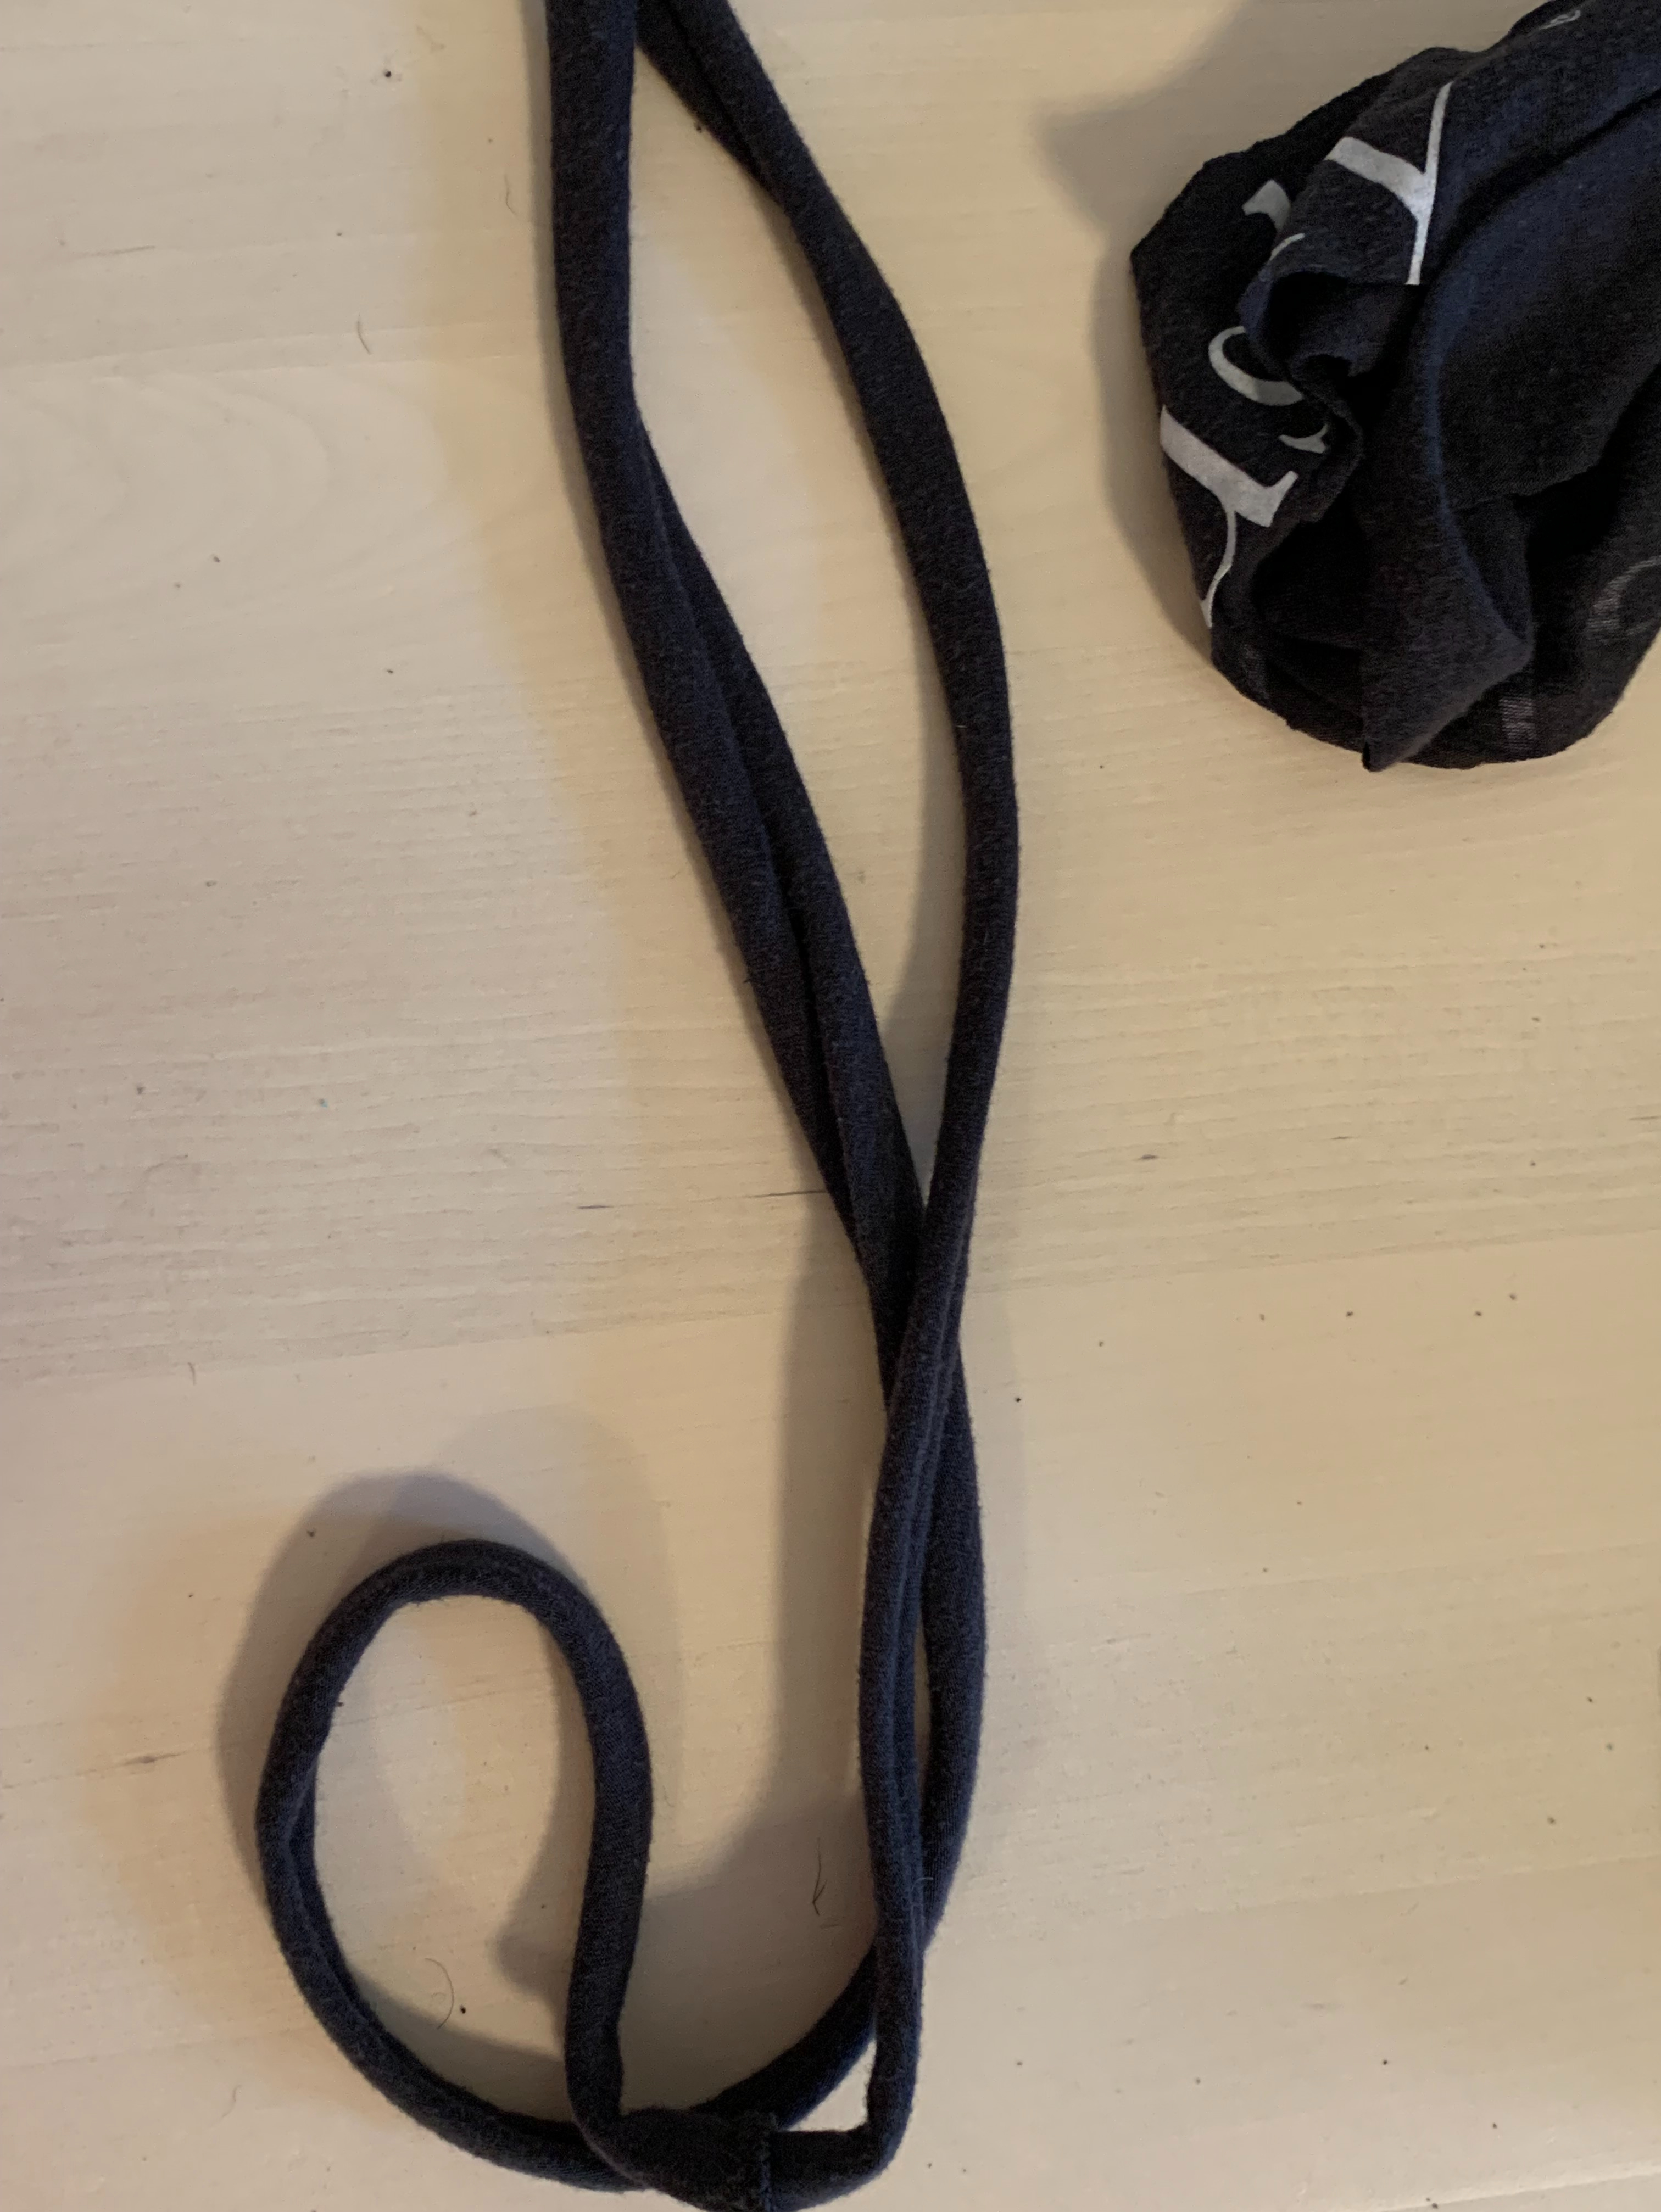
This next part, where I describe making the strips into yarn, is obscenely difficult to describe, so this is really where the tutorial goes right off the rails (if it hasn’t already).
Take a strip of the t-shirt, holding it like a steering wheel (though more “9 and 3” then “10 and 2”), and pull it. Be light-handed at first, especially if you are using thinner t-shirt strips. The material will fight back; let it. Then pull it again. With more pulling, you’ll notice the strip start to curl in on itself. If you are using t-shirt material without the printing on it, it shouldn’t take long for the strips to represent t-shirt yarn.

Once you’ve made yarn out of all the t-shirt strips you’ve made, it’s time to gather them and make a scarf.
Because apparently I am only compulsive about making sure the side seams of the t-shirt line up relatively well and really nothing else about this project, I gathered the yarn with my thumb and forefinger. I made sure one of the side seams in the yarn rested between the two.

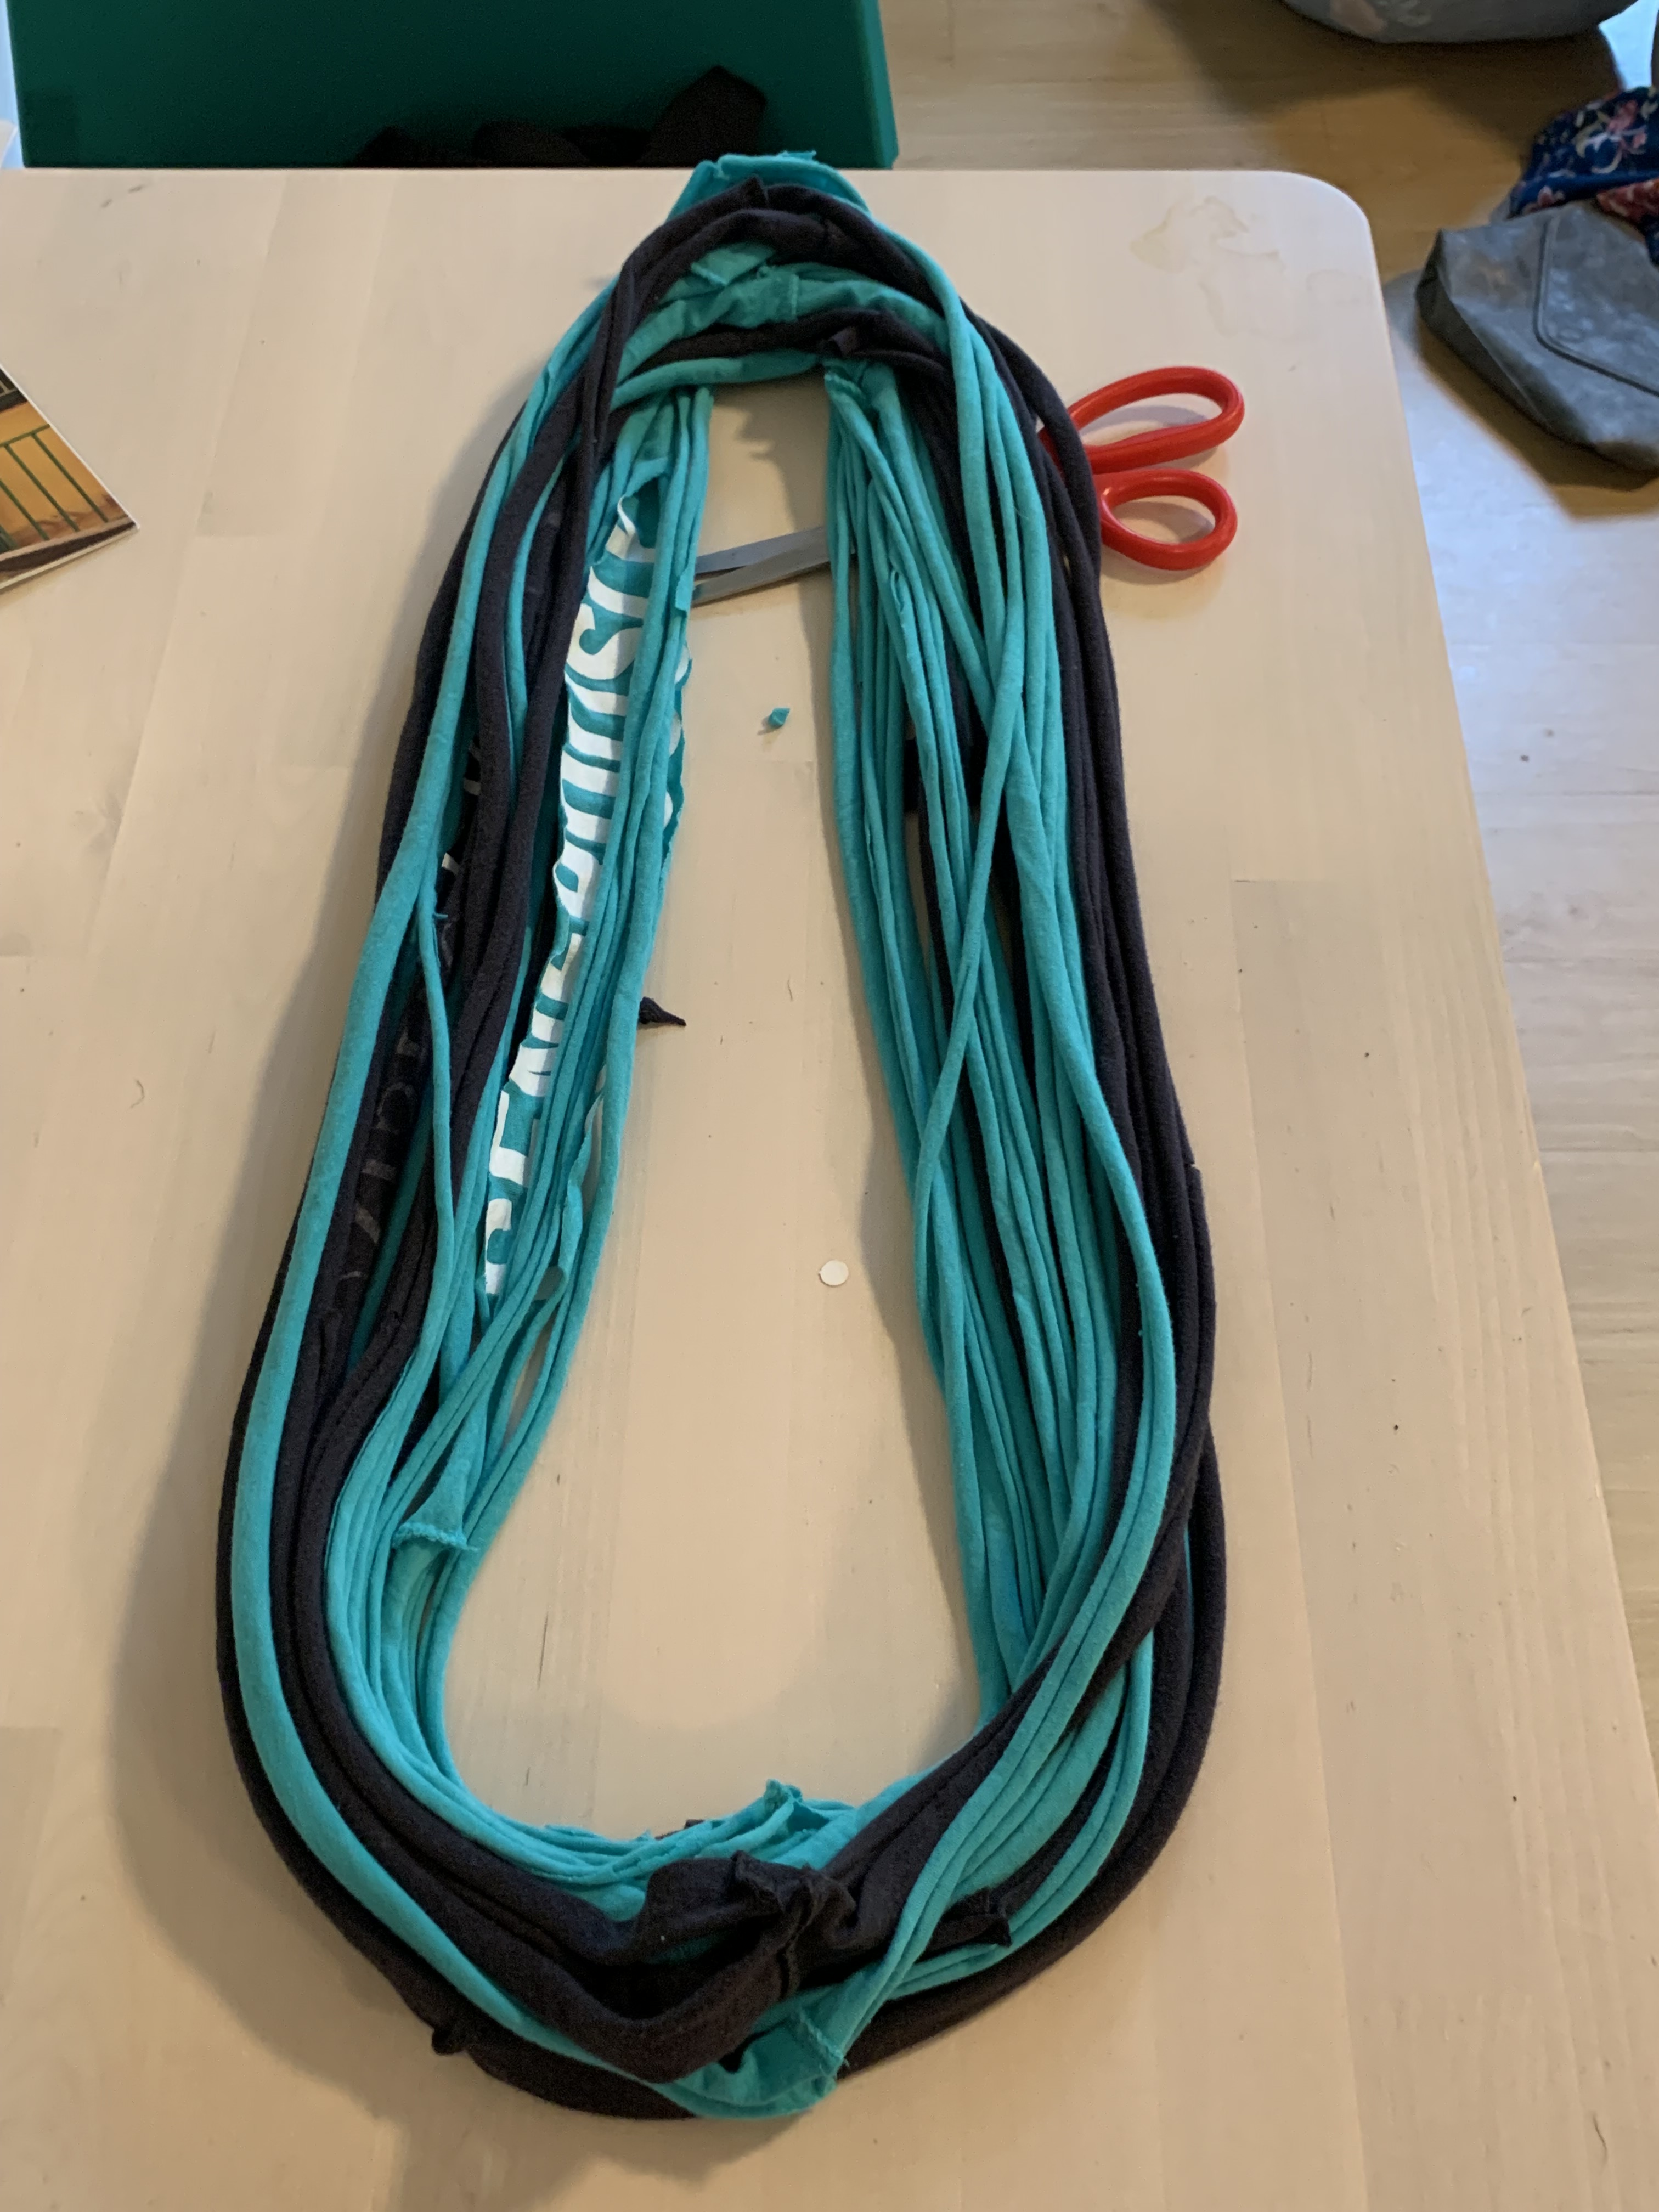
If you’re using multiple colors, may I suggest gathering the colors in an alternating pattern? I alternated between turquoise and black as I gathered the loops. Gathering the same colors all at once might make the scarf appear blocky. But if that’s the look you want, go with it!
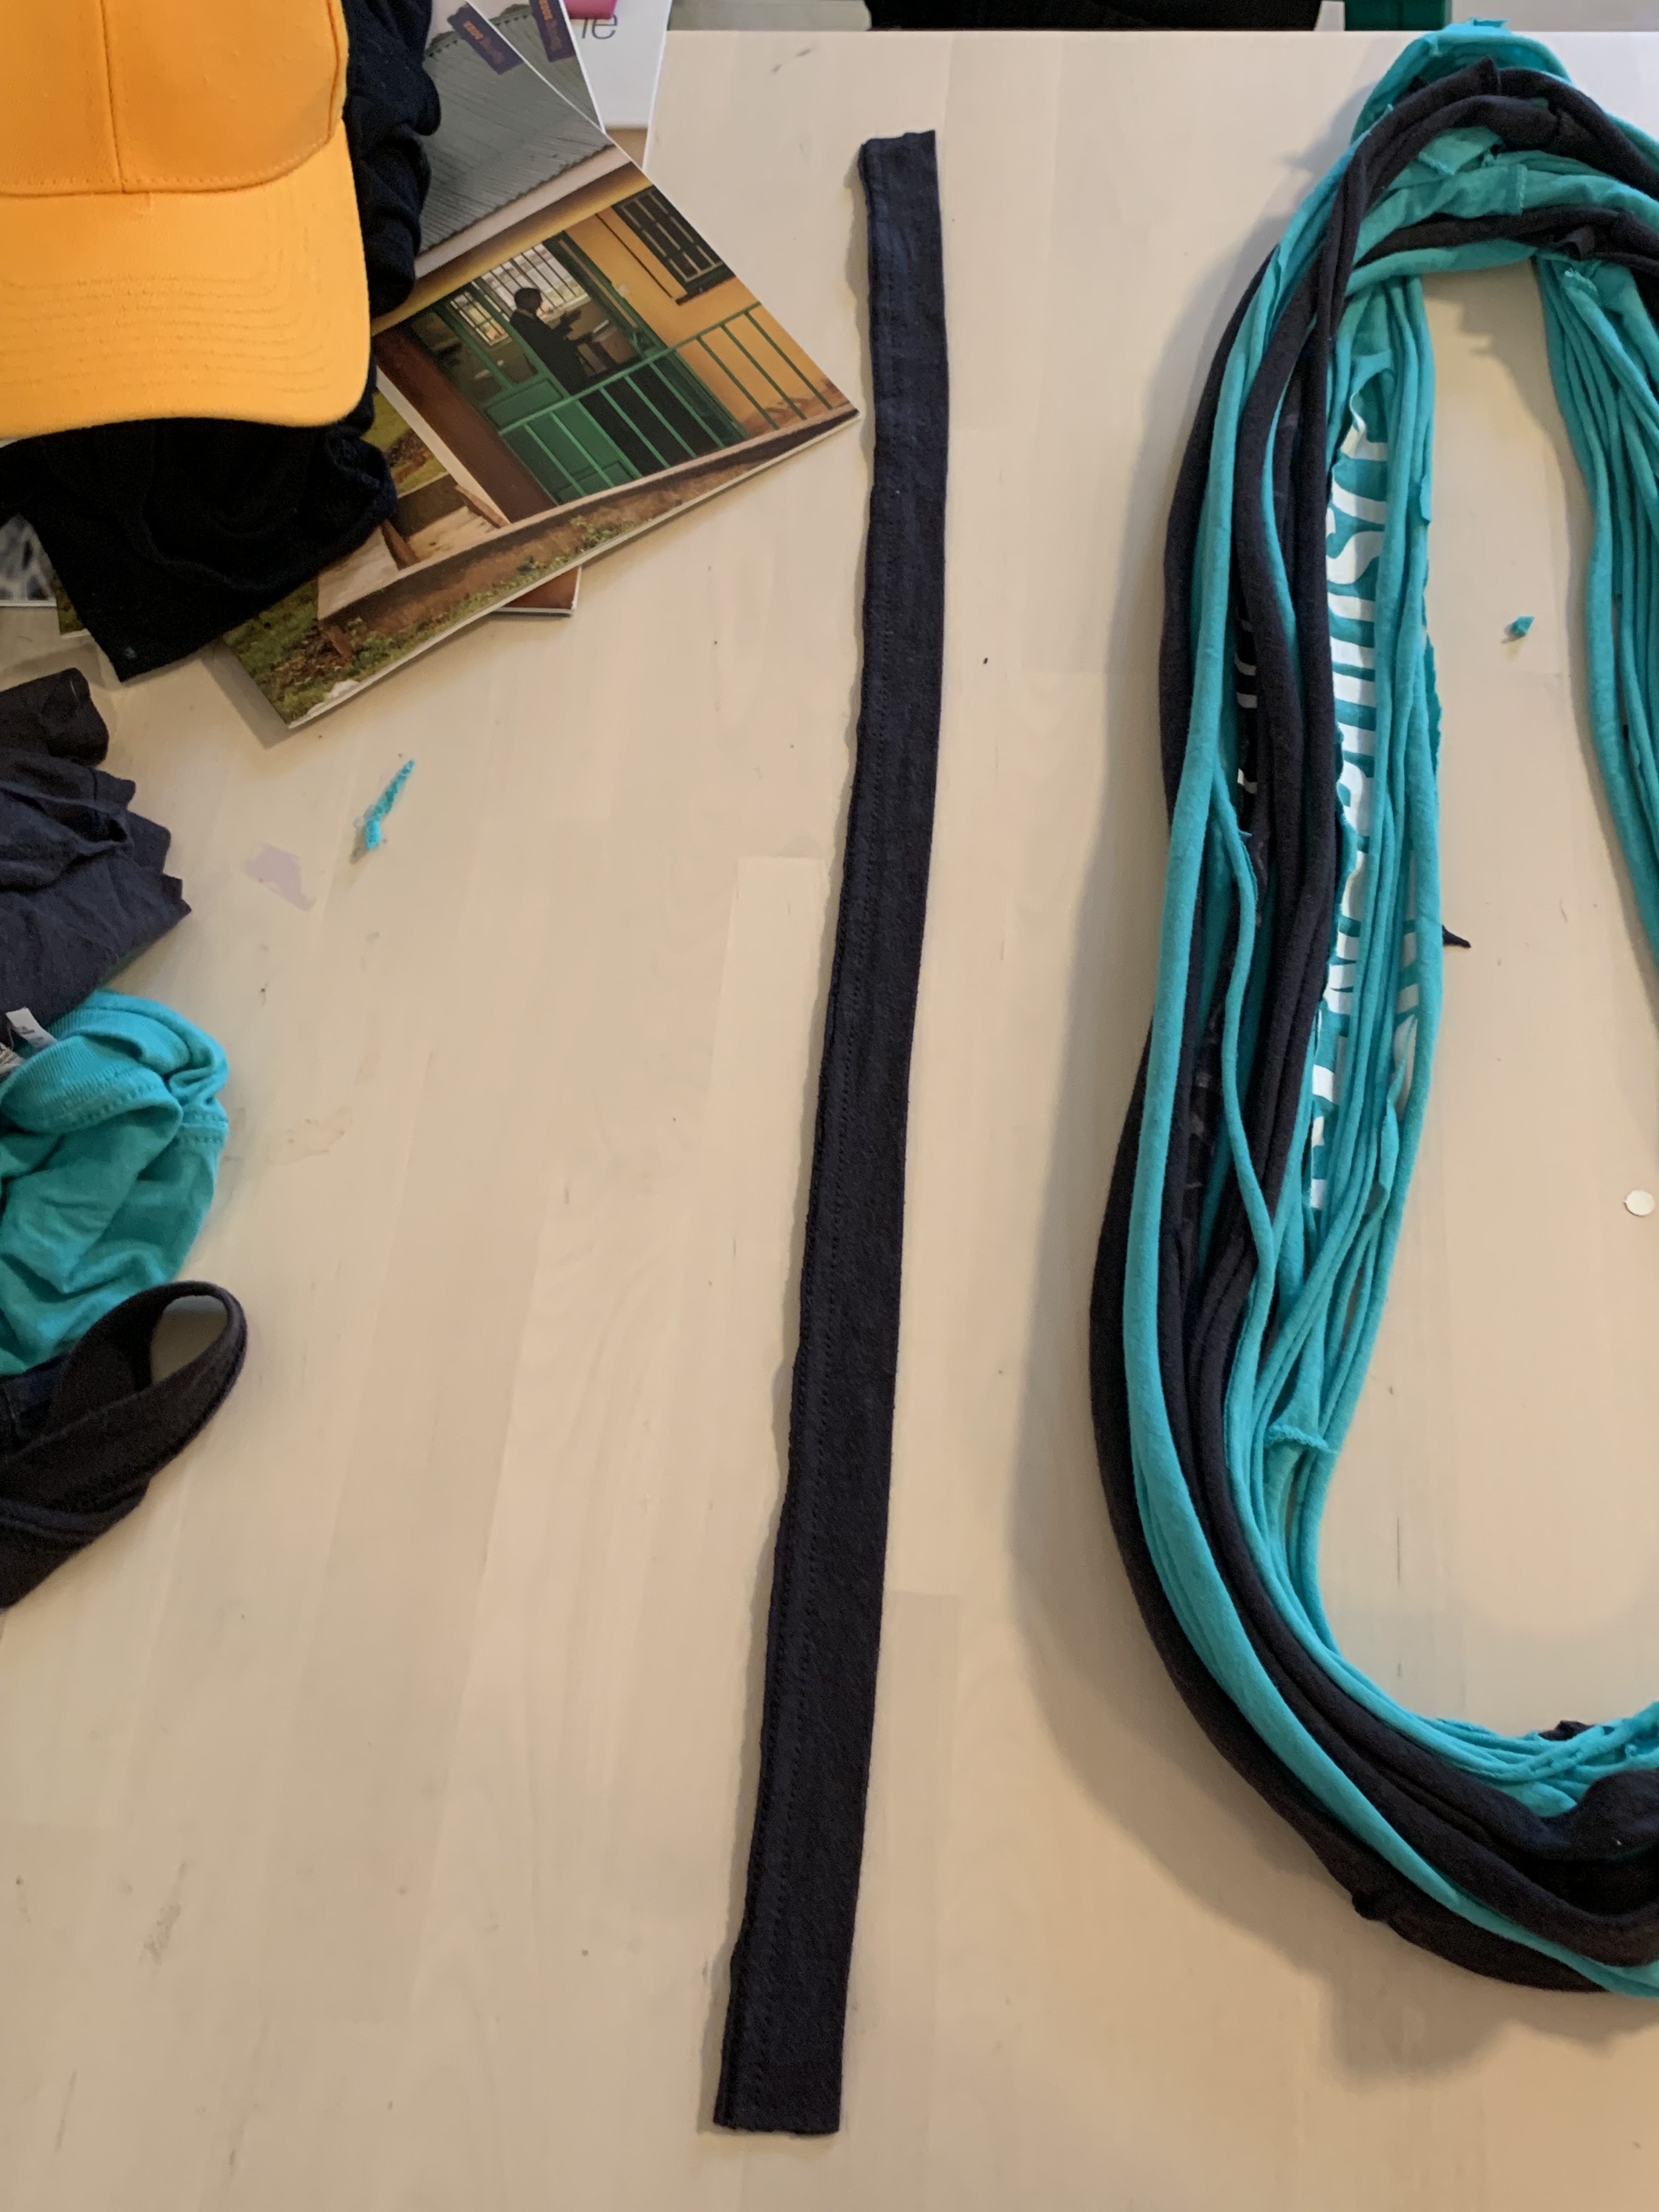
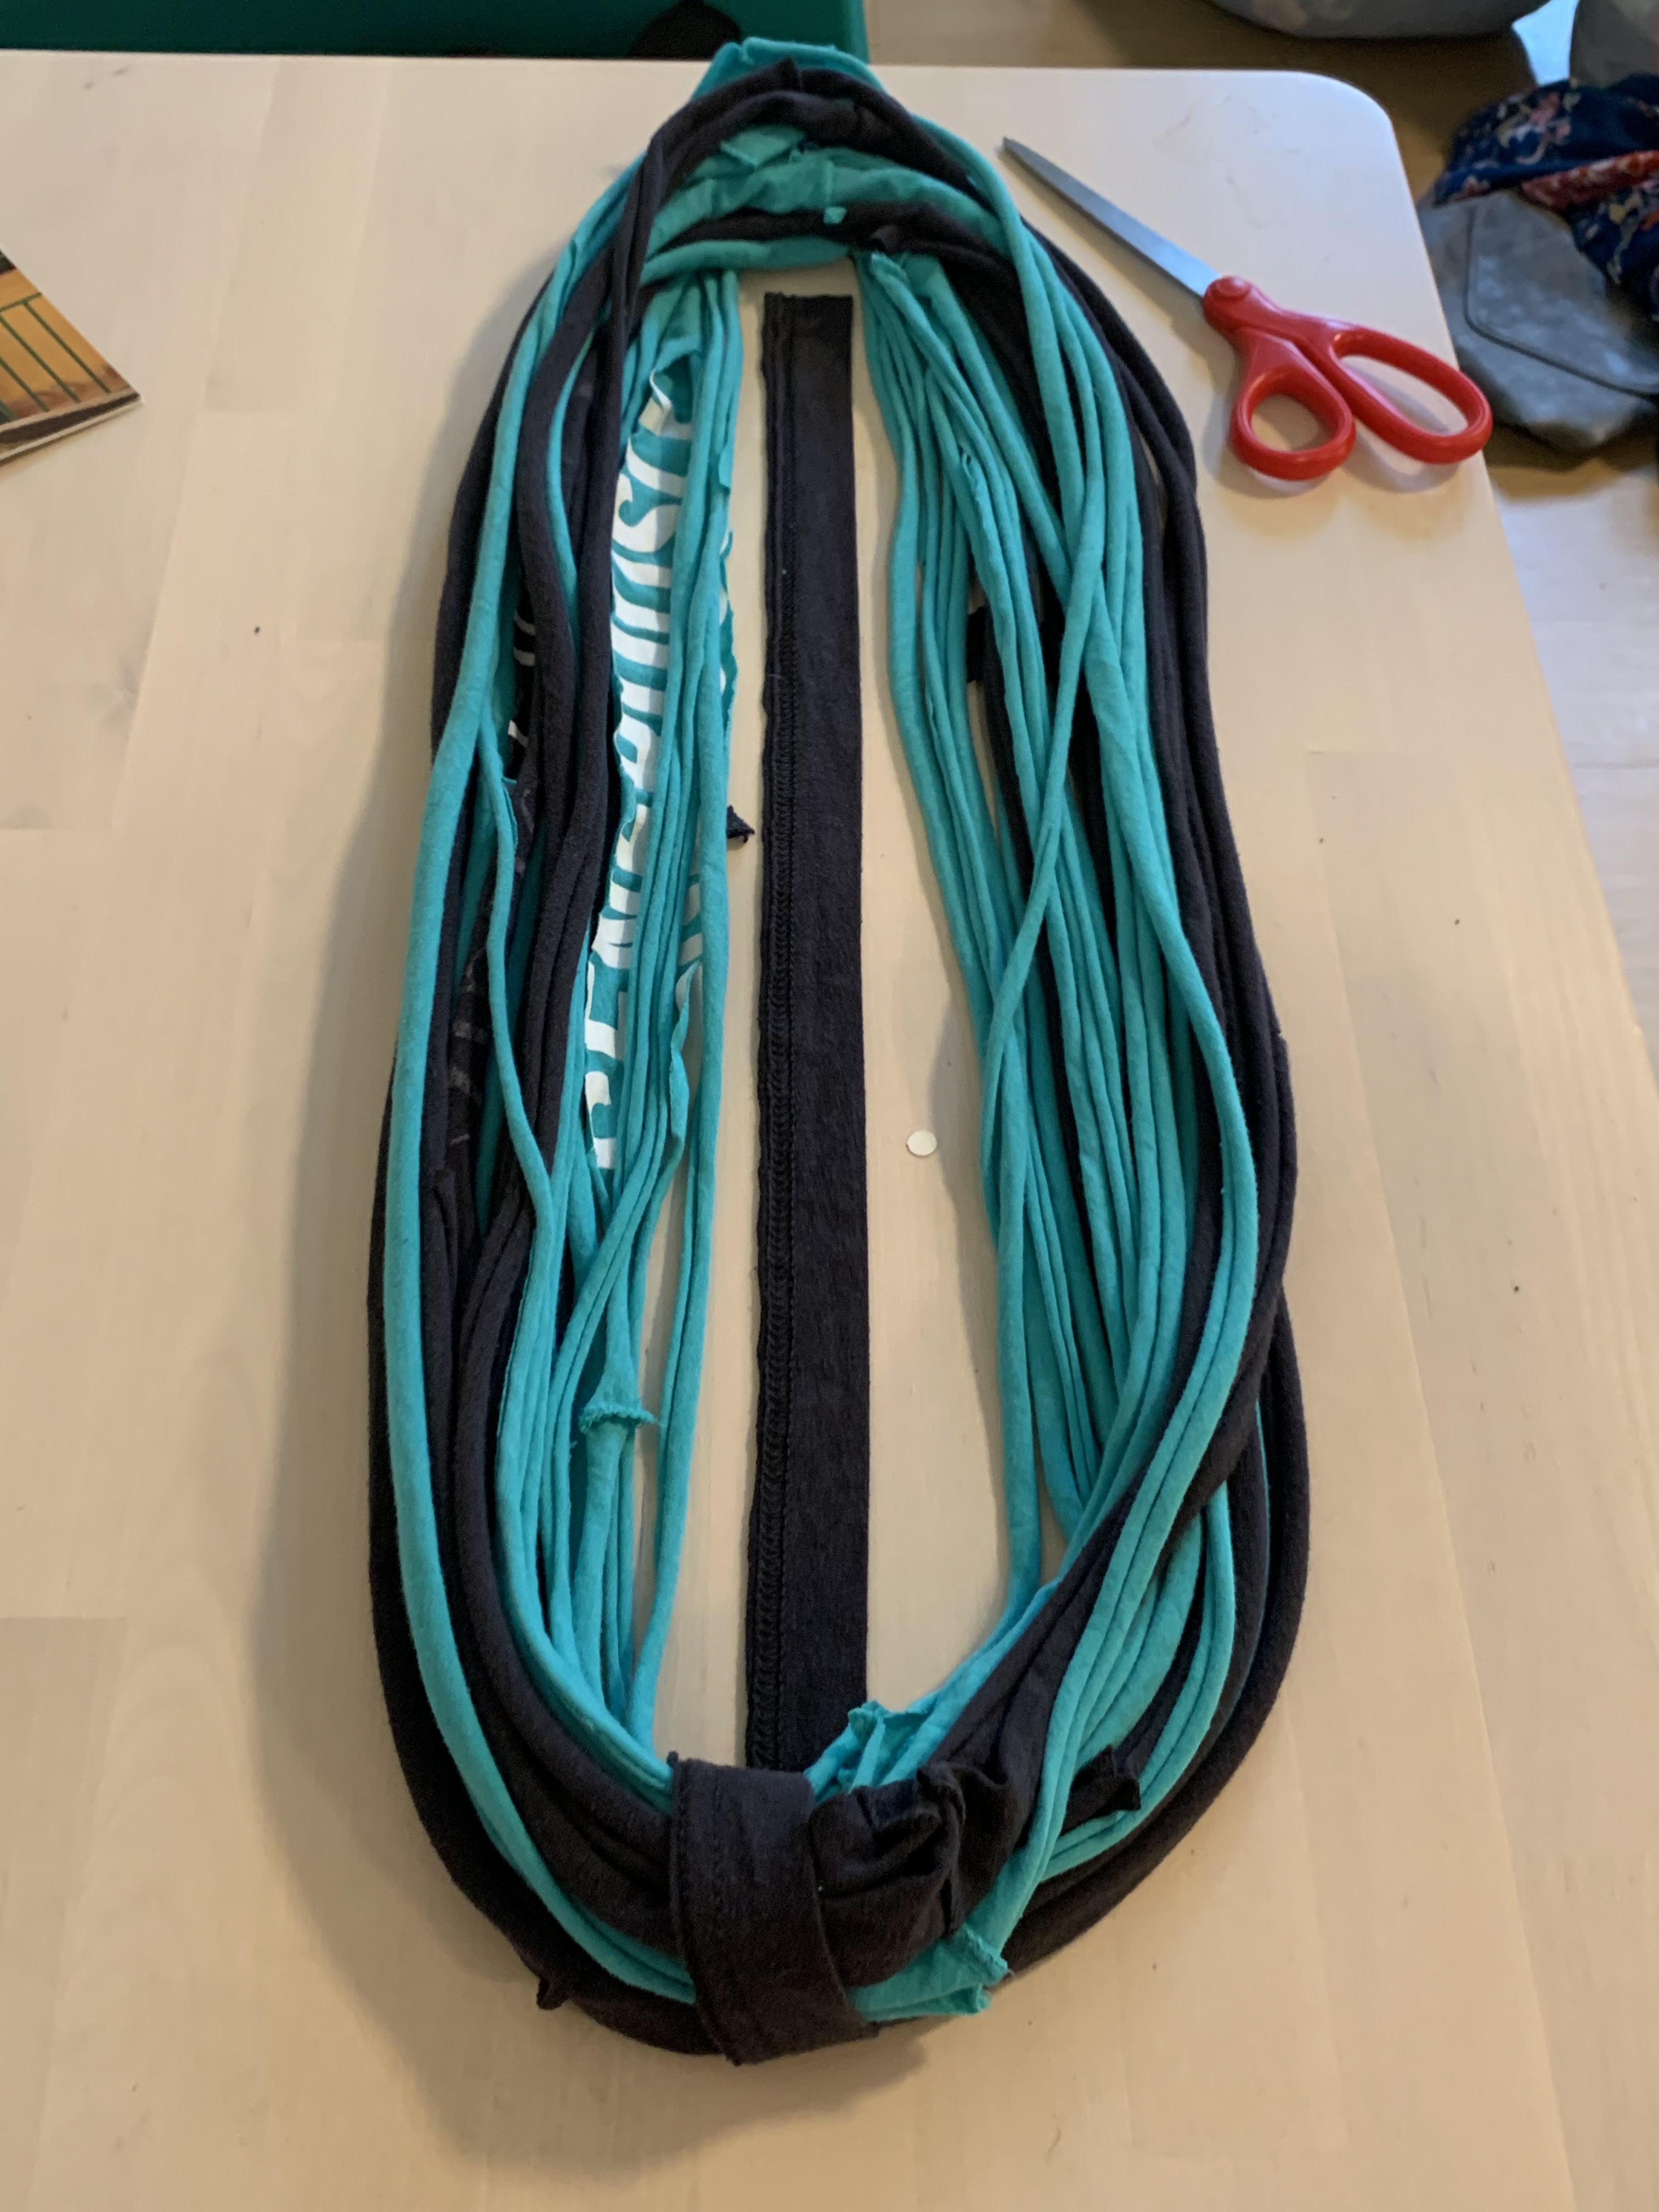
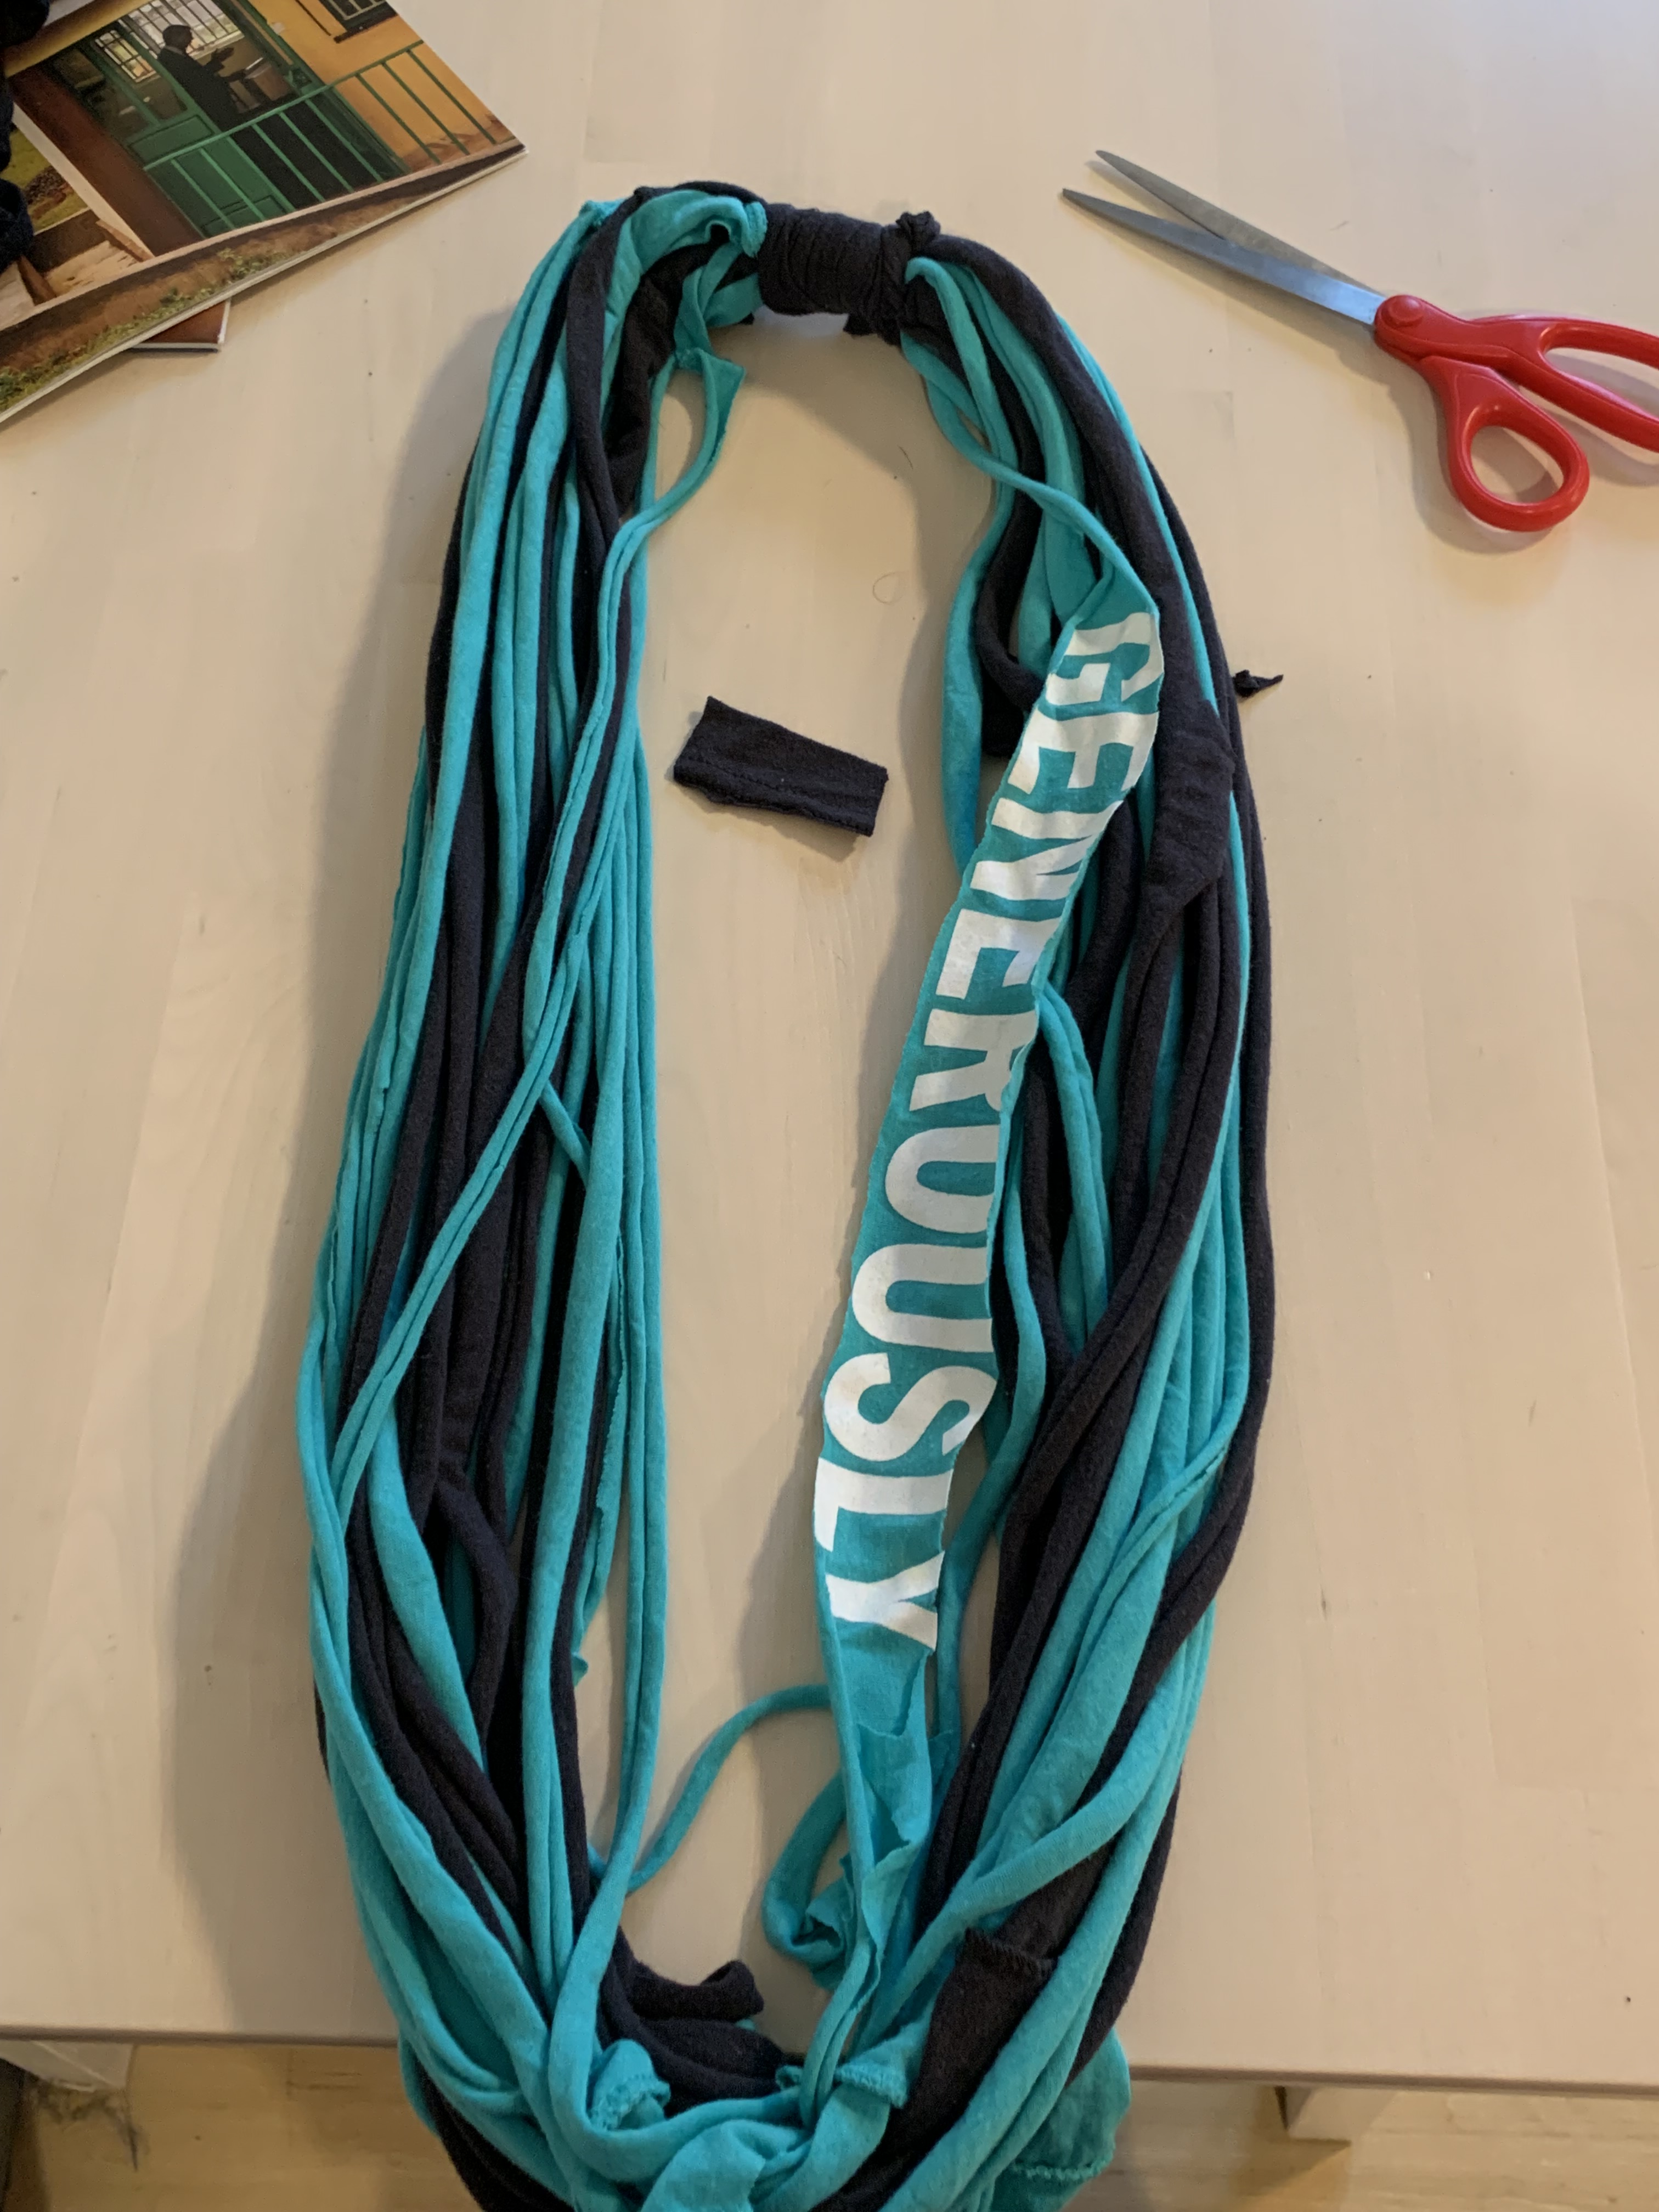
Once you’ve gathered your loops, this thing that you’ve made should closely resemble an infinity scarf. If it looks nothing like the photo below, please call 1-800-MARTHA-STEWART because I cannot help you.

Now for a more avant garde look, you could totally stop here, but for me there is a line and the line in this case is fastening all the loops in one group. Trust me, none of us is going to NYFW, it’s gonna be fine.
I saved the bottom seam of the black t-shirt to form the gathering point of the t-shirt yarn.

You will want to cut this loop at a side seam. Basically you’re going to use this strip to wrap around a gathering point on your scarf.
The following pictures depict neither rhyme nor reason as to how the gathering point is supposed to go, so by no means interpret the following as prescriptive.
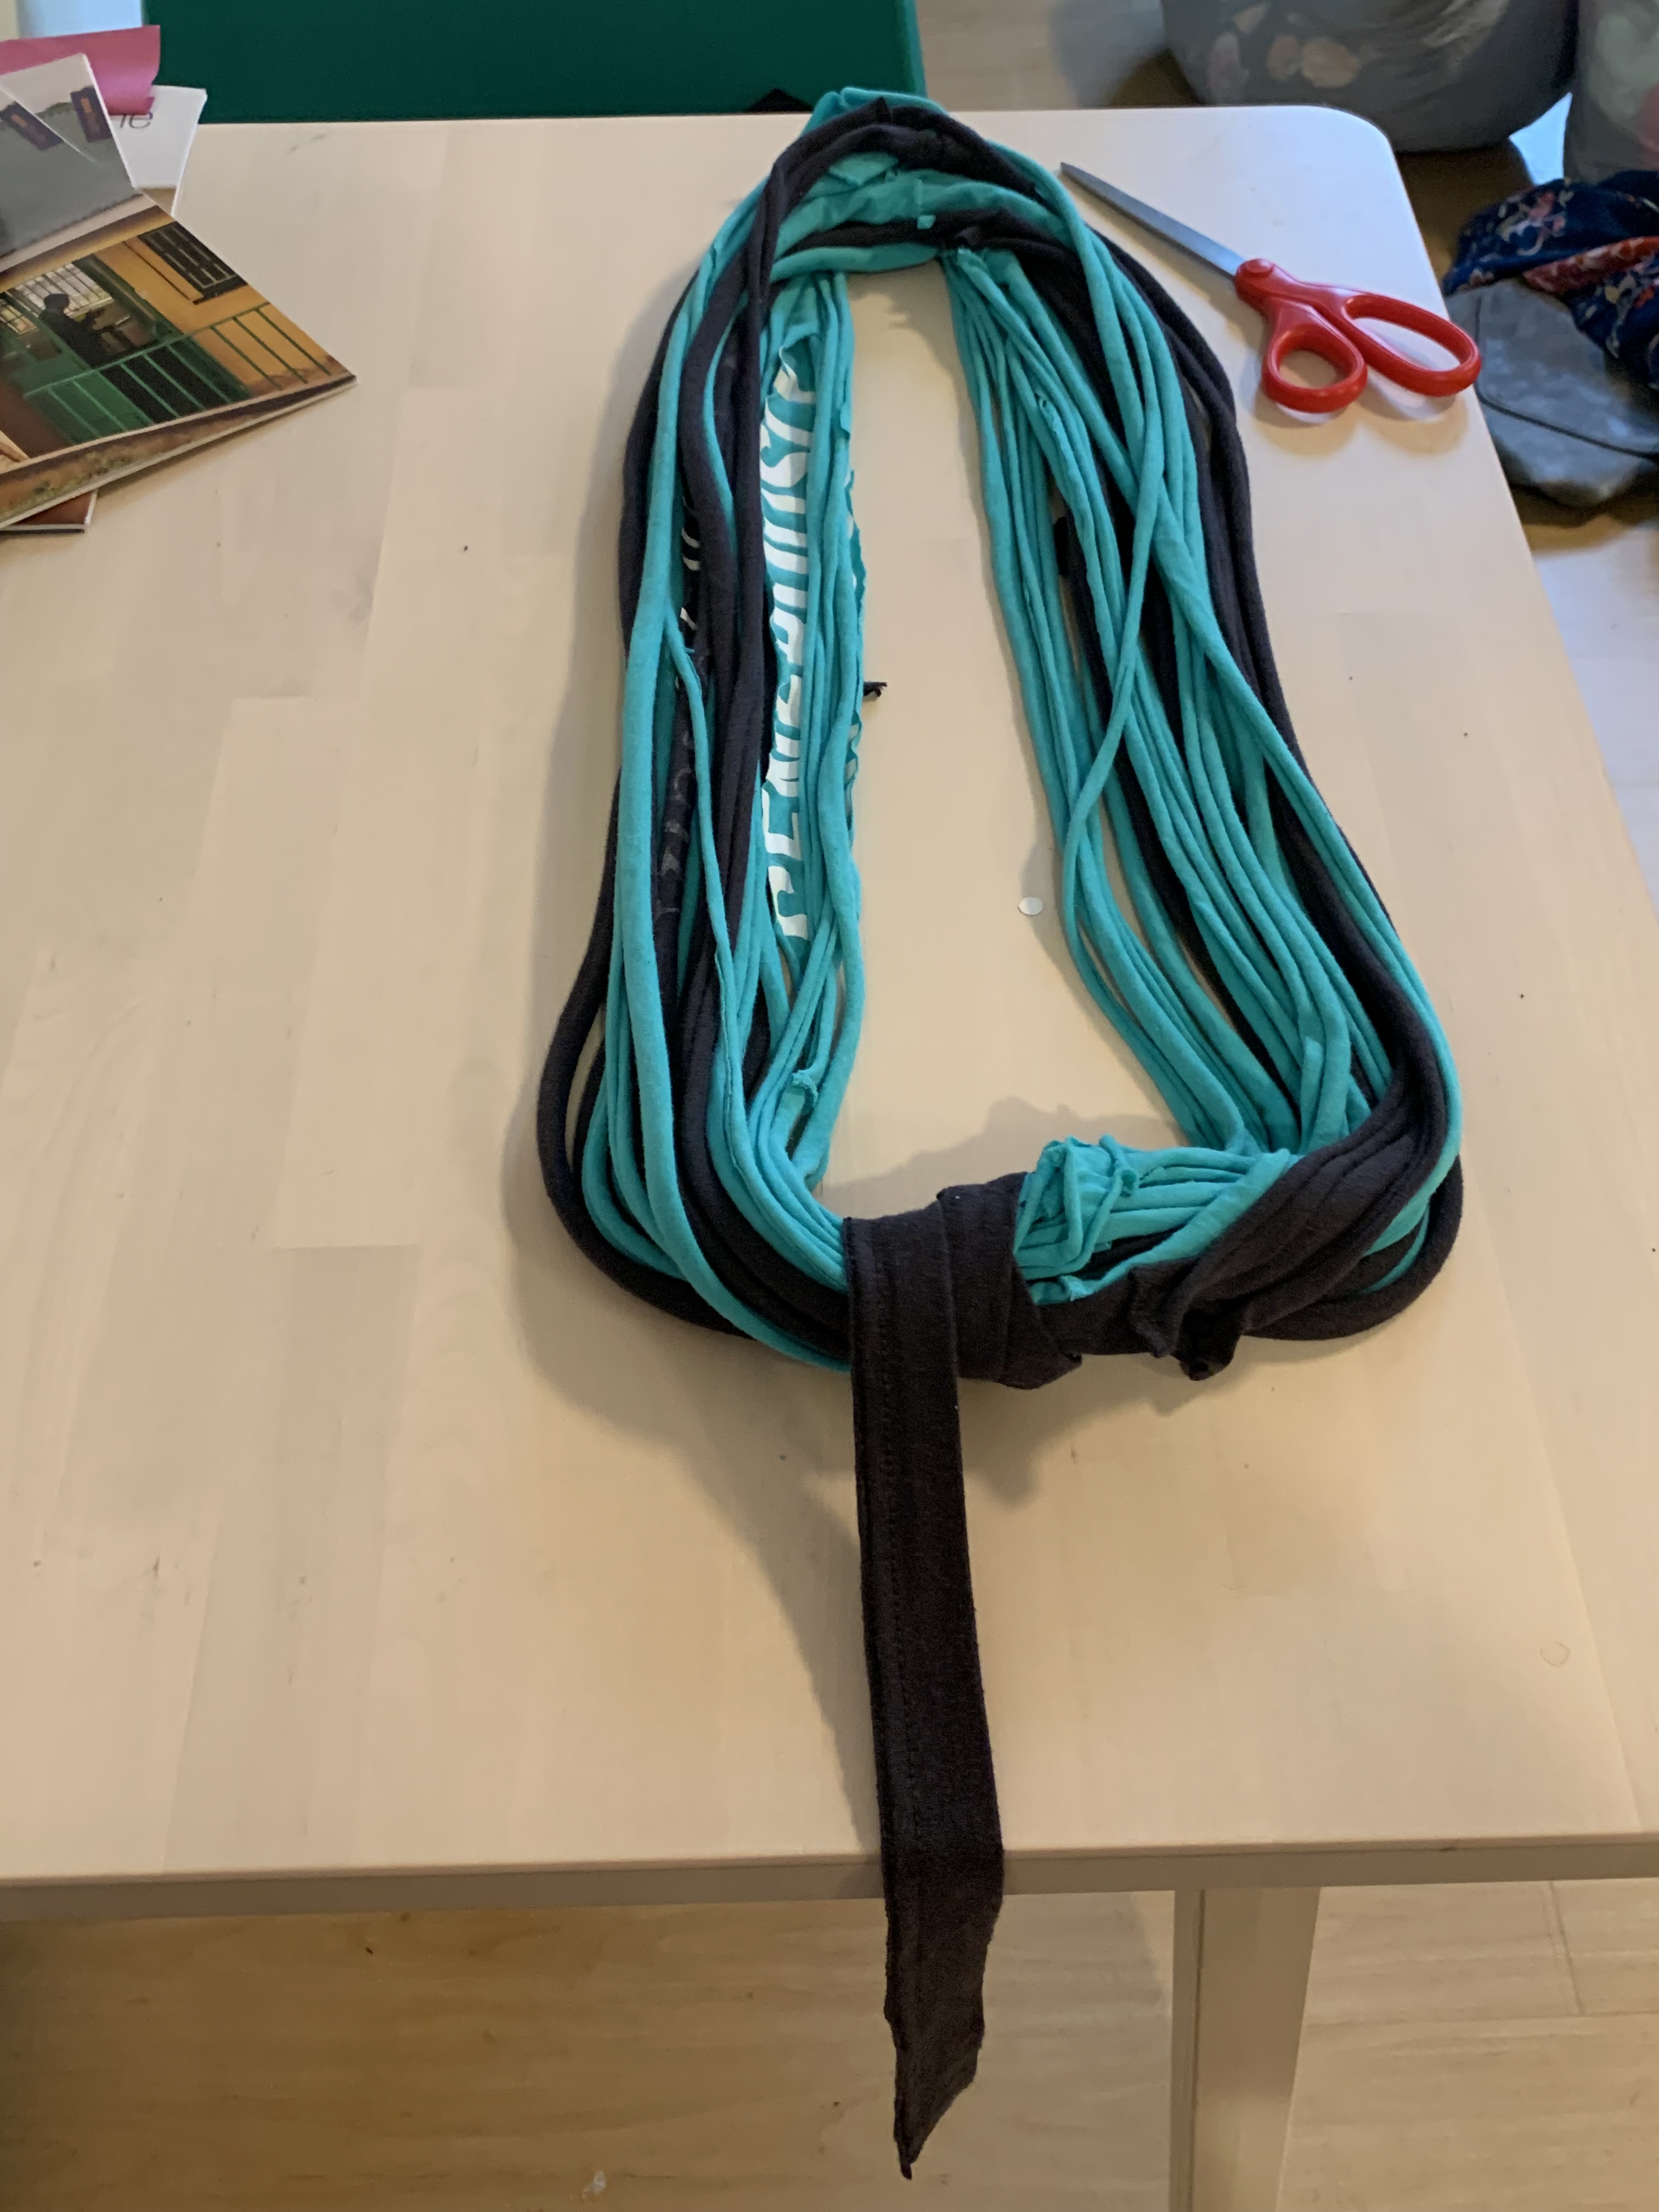
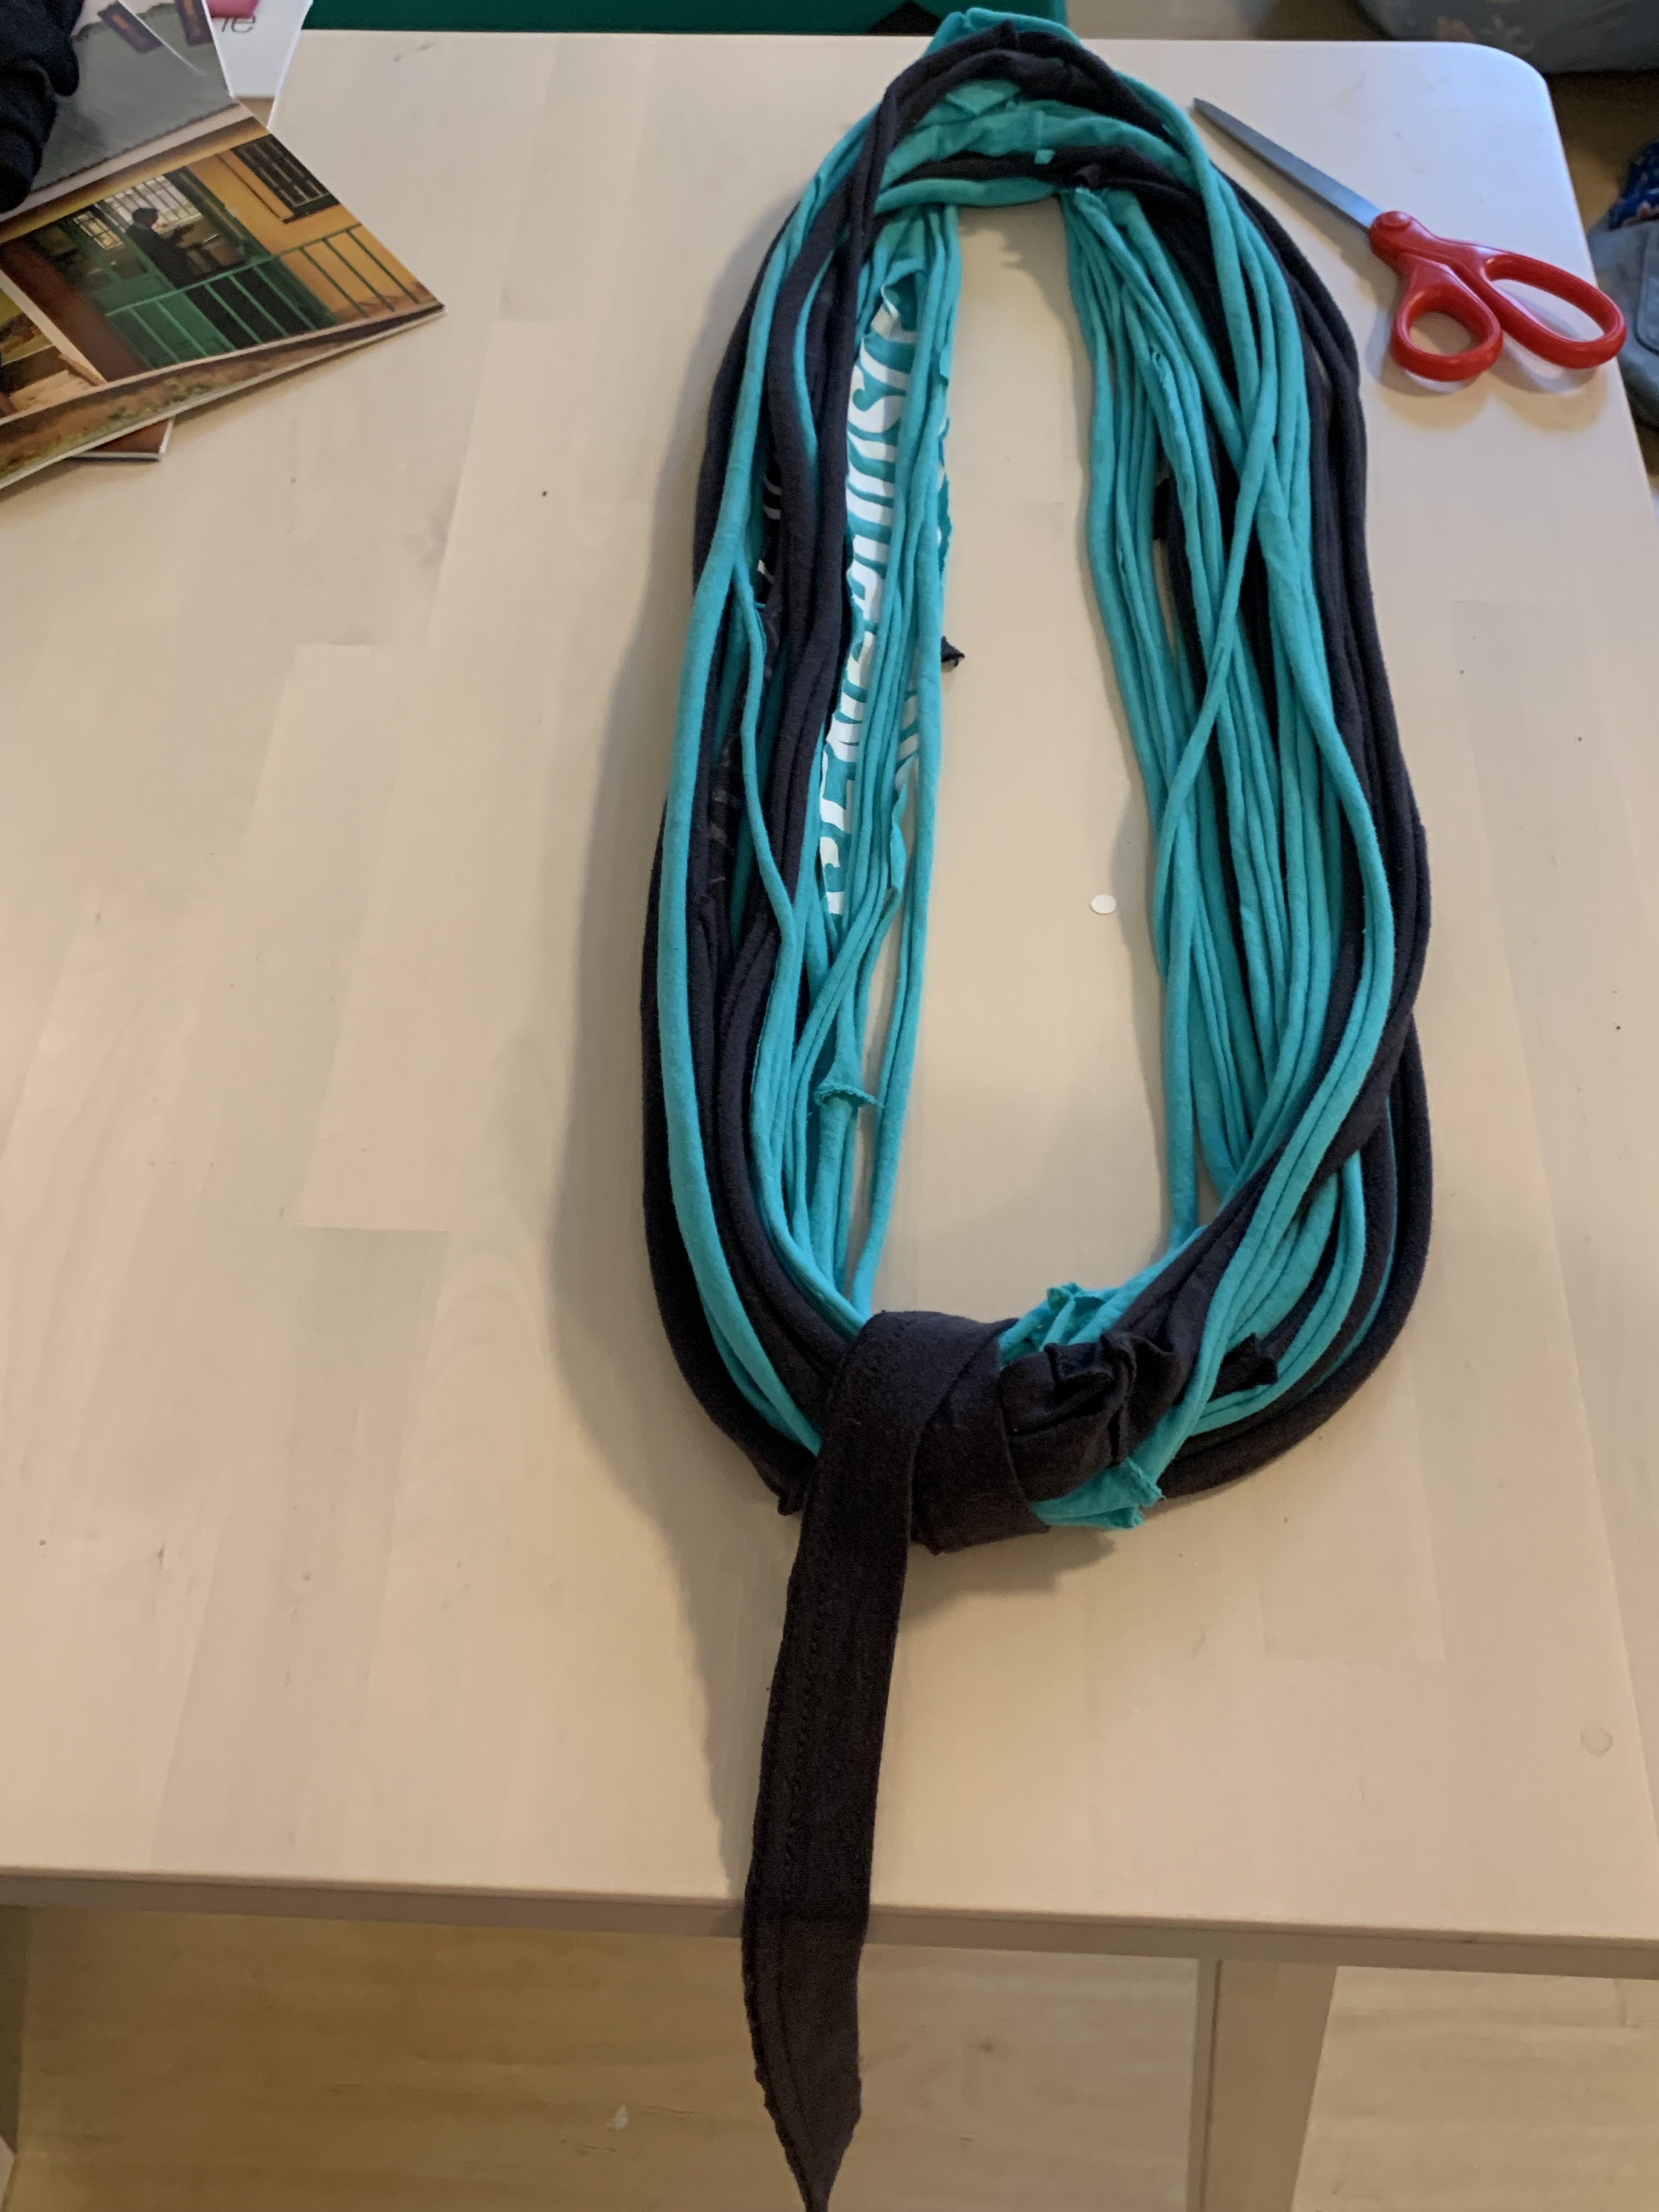
Once your loops have been satisfactorily wrapped, tuck the loose ends of your gathering strip under the wrapping, or tie a knot, or glue it down. Whatever, anything goes.

And voila. There’s your (unofficially licensed by) Thrivent “Live Generously” t-shirt infinity scarf.

Stupidly impressed with myself. Although I can’t sew a button onto a shirt, so can you really blame me?
